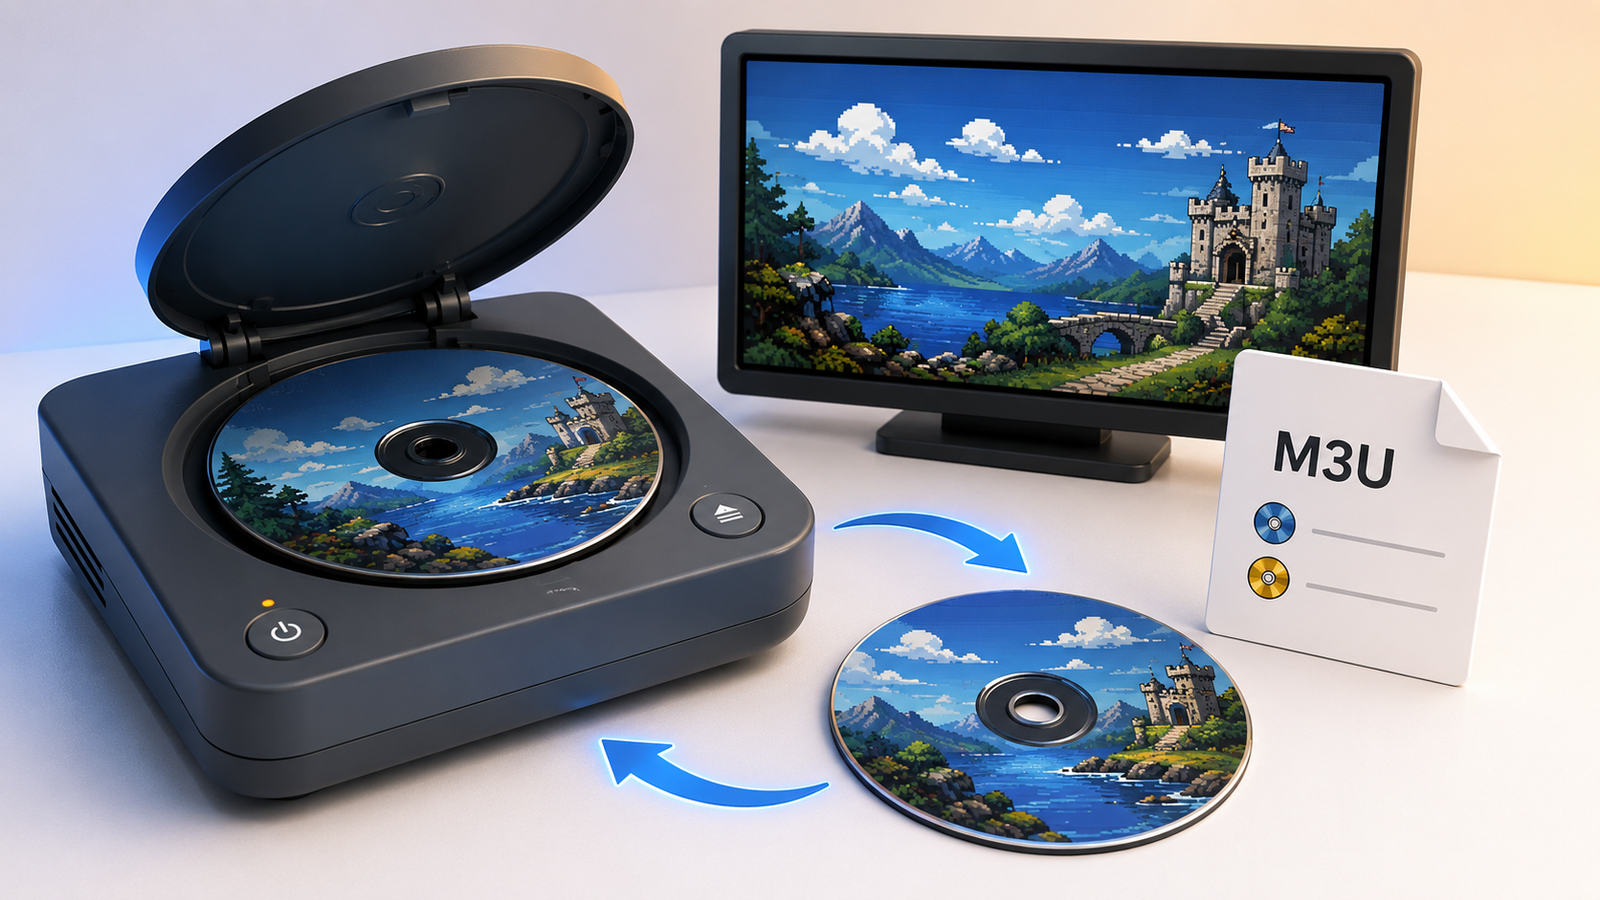

Multi-disc games in RetroArch work best when you launch one M3U file containing the discs for that game. When the game requests another disc, use Quick Menu → Disc Control instead of closing the game and starting a different file.
The important details are the filenames, your core’s support, and the way it names saves. This guide covers those details without requiring you to merge discs or rebuild your whole library.
Before you start
Keep a backup of your saves and original disc files. Use game files you are authorized to use; this tutorial does not provide game or BIOS downloads.
You need a compatible core, every required disc, and any firmware that core needs. Check its documentation rather than assuming all cores for a console behave identically. If the terminology is unfamiliar, start with our RetroArch cores, content, and playlists guide.
First check that Disc 1 starts normally. A missing BIOS or broken image will not be repaired by putting its name into a playlist.
What does an M3U file actually do?
An M3U is a small plain-text list pointing to disc images. It contains no game data. Think of it as the label on a box that tells the emulator which discs belong together.
It is different from RetroArch’s library playlists, which use LPL files to organize menu entries. Your library entry can point to an M3U; that M3U then points to the individual discs.
Keep these two jobs separate when troubleshooting: a missing menu entry is a library problem, while an unreadable disc can be a file-path or image problem.
1. Choose a core for multi-disc games in RetroArch
The following official core guides document multidisc loading. These are examples, not a promise that every core supports every format or runs well on your device.
| System | Documented core example | Disc entries |
|---|---|---|
| PlayStation | Beetle PSX or PCSX ReARMed | CUE files; Beetle PSX also documents CHD playlists |
| Sega CD | Genesis Plus GX | CUE or CHD files |
| Saturn | Beetle Saturn | CUE files |
| Dreamcast | Flycast | GDI, CHD, CDI, or CUE files |
For Sega CD, Genesis Plus GX documents M3U loading and CHD entries. The Beetle Saturn guide describes CUE-based lists. For Dreamcast, follow the Flycast multidisc instructions.
Keep all discs from a compatible release set. Mixing regions or revisions adds another variable if a game rejects the next disc.
2. Put the disc files in one folder
For a simple two-disc example, place these files together:
Example Adventure (Disc 1).cue
Example Adventure (Disc 1).bin
Example Adventure (Disc 2).cue
Example Adventure (Disc 2).bin
Example Adventure.m3u
The name is illustrative; use your actual filenames.
A CUE describes the tracks belonging to a disc. Some games have several BIN tracks per CUE. Keep all those tracks and their original relationships intact. Multiple tracks are not the same as multiple discs.
Do not replace a complex CUE with a guessed single-track template. The PCSX ReARMed documentation specifically notes that multitrack games need more complex cue sheets.
3. Create the M3U in a plain-text editor
Create a text file beside the images. Enter one disc filename per line, in disc order:
Example Adventure (Disc 1).cue
Example Adventure (Disc 2).cue
Save it as Example Adventure.m3u. Enable filename extensions in your file manager so you can check that it is not accidentally named Example Adventure.m3u.txt.
For BIN/CUE sets, list the CUE files—not each BIN track. For CHDs supported by your core, use:
Example Adventure (Disc 1).chd
Example Adventure (Disc 2).chd
Do not include quotation marks around the lines. Match spelling, punctuation, spaces, and letter case exactly. With this same-folder arrangement, full device-specific paths are unnecessary.
This follows the structure described in Libretro’s disc-swapping guide. An M3U does not convert files: renaming a BIN to CHD or listing a nonexistent CHD will not work.
4. Launch the M3U, then add one library entry
Use Load Content, select the M3U, and choose the appropriate core if prompted. Confirm that the game starts before changing your library.
Next, create or edit a library entry so it launches the M3U instead of Disc 1 directly. Do not assume an automatic database scan will create that combined entry.
A targeted Manual Scan restricted to the m3u extension can help create the entry. Set the correct system and default core, then check the result. Our RetroArch playlist troubleshooting guide explains the scanning controls.
If each disc still appears separately, those are separate library entries. Keep the working M3U entry and tidy the menu carefully. Removing a redundant library entry is not a reason to delete its underlying disc files.
5. Swap discs without restarting the game
When the game asks for the next disc:
- Open Quick Menu → Disc Control.
- Select Eject Disc, or the equivalent tray-control option.
- Change Current Disc Index to the requested disc.
- Select Insert Disc or close the virtual tray.
- Resume the game and allow it time to recognize the change.
Names can vary by menu, core, and version. The essential sequence is eject, select, insert, resume. Beetle PSX documents this sequence.
Do not use Close Content for an in-session disc-change prompt. That ends the running session.
Some games must actually detect an empty tray. If the swap is ignored, eject, briefly resume with no disc inserted, then return to Disc Control and insert the requested disc. This is a documented compatibility workaround, not a reason to reset the game.
6. Protect existing saves when changing to M3U
Switching from a Disc 1 filename to an M3U can change which save file the core looks for. A blank memory card does not automatically mean your progress was deleted.
For example, PCSX ReARMed normally names its first memory-card save after the loaded content. A direct launch might use Example Adventure (Disc 1).srm, while the M3U launch expects Example Adventure.srm.
Before migrating, close RetroArch and back up the saves. Confirm the actual save directory, core, memory-card mode, and expected filename. If the same core uses compatible files, copy the existing save to the required name, preserving the original. Never overwrite another save without checking it.
Avoid changing cores and save naming at the same time. Also, do not rely on an old save state as your only backup: Beetle PSX warns that loading one can overwrite memory-card data. See our save files versus save states guide.
Troubleshooting multi-disc games in RetroArch
- M3U is invisible: check the extension, selected core, and file-browser filtering.
- Disc cannot load: compare the M3U line with the actual filename and check the CUE’s track references.
- Only one disc is listed: confirm you launched the M3U rather than the first image.
- Disc Control is missing: load compatible content first, then check core support and menu visibility settings.
- The game rejects Disc 2: verify disc order and release compatibility; try the empty-tray workaround.
- Saves seem missing: inspect filenames and memory-card settings before creating new progress or deleting anything.
Change one variable at a time. Keep a note of the original launch file, core, and save location so you can return to the working setup.
Final check
A reliable setup has one working library entry, an M3U that points to every required disc, and a verified in-game save. Test loading that save through the M3U before investing more play time.
Once everything works, keep the M3U, disc images, and saves in your backup routine. Our microSD backup guide covers protecting the broader handheld setup.