
RetroArch can look complicated the first time you open it. The menus mention cores, content, playlists, overrides, remaps, shaders, and directories—but they do not always explain how those pieces fit together.
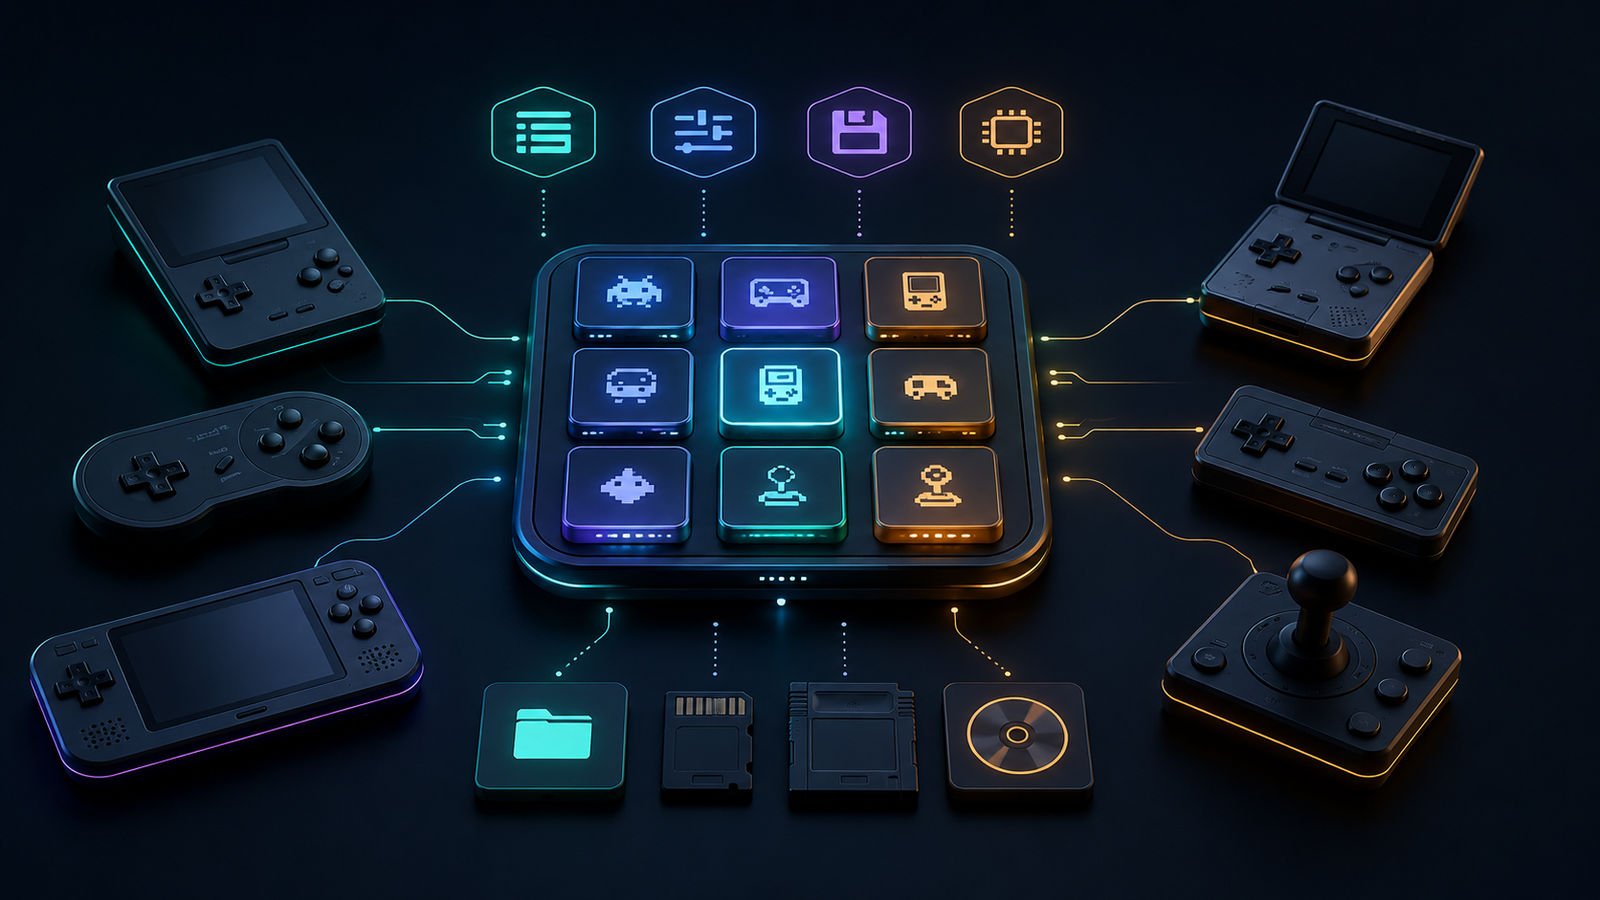
The simplest way to understand RetroArch is to treat it as a central control panel for emulation. It provides the menus, controller layer, video and audio settings, library tools, and save management. The actual emulation is handled by separate modules called cores.
What RetroArch Is—and What It Is Not
RetroArch is a frontend for programs built around the libretro API. In practical terms, it is the interface that loads compatible cores and passes your game files, controller input, video, audio, and save data between them.
RetroArch is not a console by itself, and it does not include commercial games. It also does not turn an incompatible file into a working game. You still need legally obtained content, a suitable core, and—on some systems—the correct firmware or BIOS files.
Many retro handhelds and game sticks use RetroArch behind a simpler menu such as EmulationStation. You may select a game from a system list without seeing RetroArch until you open its Quick Menu. The same core-and-content model is still working underneath.
The Three Parts: Frontend, Core, and Content
Most RetroArch confusion disappears once you separate three terms:
- Frontend: RetroArch itself—the menus, settings, input system, playlists, and launcher.
- Core: A module that performs a specific emulation or media task through the libretro API.
- Content: The file you load, such as a ROM, disc image, or other supported media.
The normal chain is simple: RetroArch loads a core, then the core opens compatible content. If a game fails to start, the problem may belong to any point in that chain. Checking one layer at a time is more useful than changing several unrelated settings.
Why One System Can Have Several Cores
You may see more than one core for the same console. That is normal. Different cores can prioritize accuracy, speed, compatibility, low hardware requirements, or extra features. A demanding core may work well on a desktop PC but perform poorly on a low-cost handheld. Another may run faster while handling a few games differently.
Start with the core recommended by your device firmware or its official documentation. Test a known-good game before experimenting. If one title has a specific compatibility problem, try a second suitable core rather than changing global video, audio, and latency settings all at once.
Content Means More Than a ROM Filename
A core only opens file types it supports. Cartridge-based games commonly use a single ROM file, while disc systems may use formats such as CHD or a CUE file that references one or more BIN tracks. Multi-disc games can use an M3U playlist file to keep the discs together.
Keep legal game files organized by system and avoid mixing unrelated platforms in the same folder. If you are building a game-stick library, follow our guide to add games to a retro game stick safely before changing the frontend configuration.
BIOS Files and the System Directory
Some cores require external firmware files, commonly called BIOS files. RetroArch normally looks for them in its configured System/BIOS directory. The exact filename, capitalization, and checksum can matter, so a file with a familiar name is not automatically the correct dump.
Do not scatter BIOS files across random game folders unless your device documentation explicitly requires that layout. First check Settings > Directory > System/BIOS, then compare the required filenames with the official documentation for the core.
Our retro handheld BIOS files guide explains how to identify the correct directory and verify files without downloading unknown firmware packs.
Playlists Are Library Entries, Not Game Storage
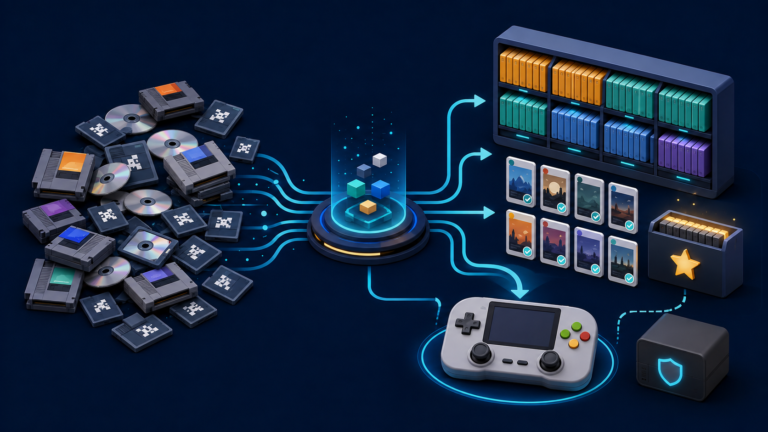
A RetroArch playlist is a library index. It can store a display name, the path to the content, a linked core, and database information. Removing a playlist entry does not necessarily delete the game file, and copying a ROM into a folder does not guarantee that it will immediately appear in a playlist.
An automatic scan tries to match content against RetroArch databases. Strict matching is useful for clean metadata, but modified, translated, renamed, or uncommon dumps may not match. Manual Scan can add content without depending on the same database match, provided you select the correct system and file extensions.
If files exist on the card but do not appear in the menu, use the checks in Games Not Showing Up on a Retro Handheld? before rescanning the entire storage device.
Global Settings, Overrides, and Remaps
RetroArch can apply settings at several levels. Global settings affect the frontend broadly. Overrides can replace selected settings for a core, a content directory, or one game. Controller remaps and shader presets use their own systems.
Use global changes only for preferences you genuinely want everywhere. Use a core override when all games for that core need the same adjustment, and a game override for an isolated compatibility fix. Before making extensive changes, note the original value or back up the configuration directory.
Save Files and Save States Are Different
An in-game save is created through the original game’s save system and is usually stored by RetroArch as a save file. A save state captures the emulated machine at a particular moment. States are convenient, but they depend more closely on the core and its implementation.
A state created with one core may not load in another. Core updates can also affect state compatibility. Keep normal in-game saves whenever the game supports them, especially before updating a core or moving a library to another device.
Confirm the configured Save Files and Save States directories before copying data. A successful state is not a substitute for a full storage backup. For removable-card devices, use our guide to back up or clone a retro handheld microSD card.
Controllers, the RetroPad, and Hotkeys
RetroArch maps physical controllers to a virtual layout called the RetroPad. The core then interprets that standardized input for the emulated system. This is why the labels shown in RetroArch may not exactly match the buttons printed on your handheld.
Test normal directional and face-button input before editing individual core controls. For core-specific changes, use a remap rather than rewriting the global layout whenever possible.
Hotkeys trigger frontend actions such as opening the menu, saving a state, loading a state, fast-forwarding, or quitting. Assign an Enable Hotkeys button or a deliberate button combination so a normal game input cannot accidentally exit the game or overwrite a state.
Shaders and Latency Settings Can Wait
Begin with default video settings and confirm that the game launches, controls respond, audio is stable, and saving works. Then change one option at a time. Heavy shaders can reduce performance on inexpensive hardware, while aggressive latency features can increase CPU load or cause instability when configured without testing.
A Safe First-Time RetroArch Workflow
- Back up the device configuration and storage before changing directories or cores.
- Choose one system and one legally obtained, known-good game for testing.
- Load a recommended core, then launch the content directly.
- If the core requires firmware, verify the System/BIOS directory and exact files.
- Test controls, audio, an in-game save, and one temporary save state.
- Import the content into a playlist only after direct loading works.
- Add core or game overrides only when you can name the problem they solve.
- Document any changes before updating firmware, RetroArch, or cores.
If you are configuring a new device rather than RetroArch alone, start with How to Set Up a Retro Handheld for the First Time.
Quick Troubleshooting Checklist
- Failed to load content: check the file extension, archive format, core compatibility, and required BIOS files.
- Game launches from Load Content but is missing from the menu: inspect the playlist path and try a properly configured Manual Scan.
- Controls changed for every game: check whether you saved a global input change instead of a core or game remap.
- Save state will not load after a change: return to the same core/version when possible and rely on a normal in-game save.
- Poor performance after customization: disable recent shader or latency changes and retest with defaults.
Final Takeaway
RetroArch is easier to manage when you stop treating it as one giant emulator. The frontend organizes the experience, cores handle specific emulation tasks, content is what those cores load, and playlists simply index your library. BIOS files, saves, overrides, remaps, and shaders each belong to a separate layer.
Build a working baseline first. Test one core and one game, confirm your directories and saves, and only then add library scans or performance tweaks. That method is slower for a few minutes and much faster than repairing a configuration changed in ten places at once.