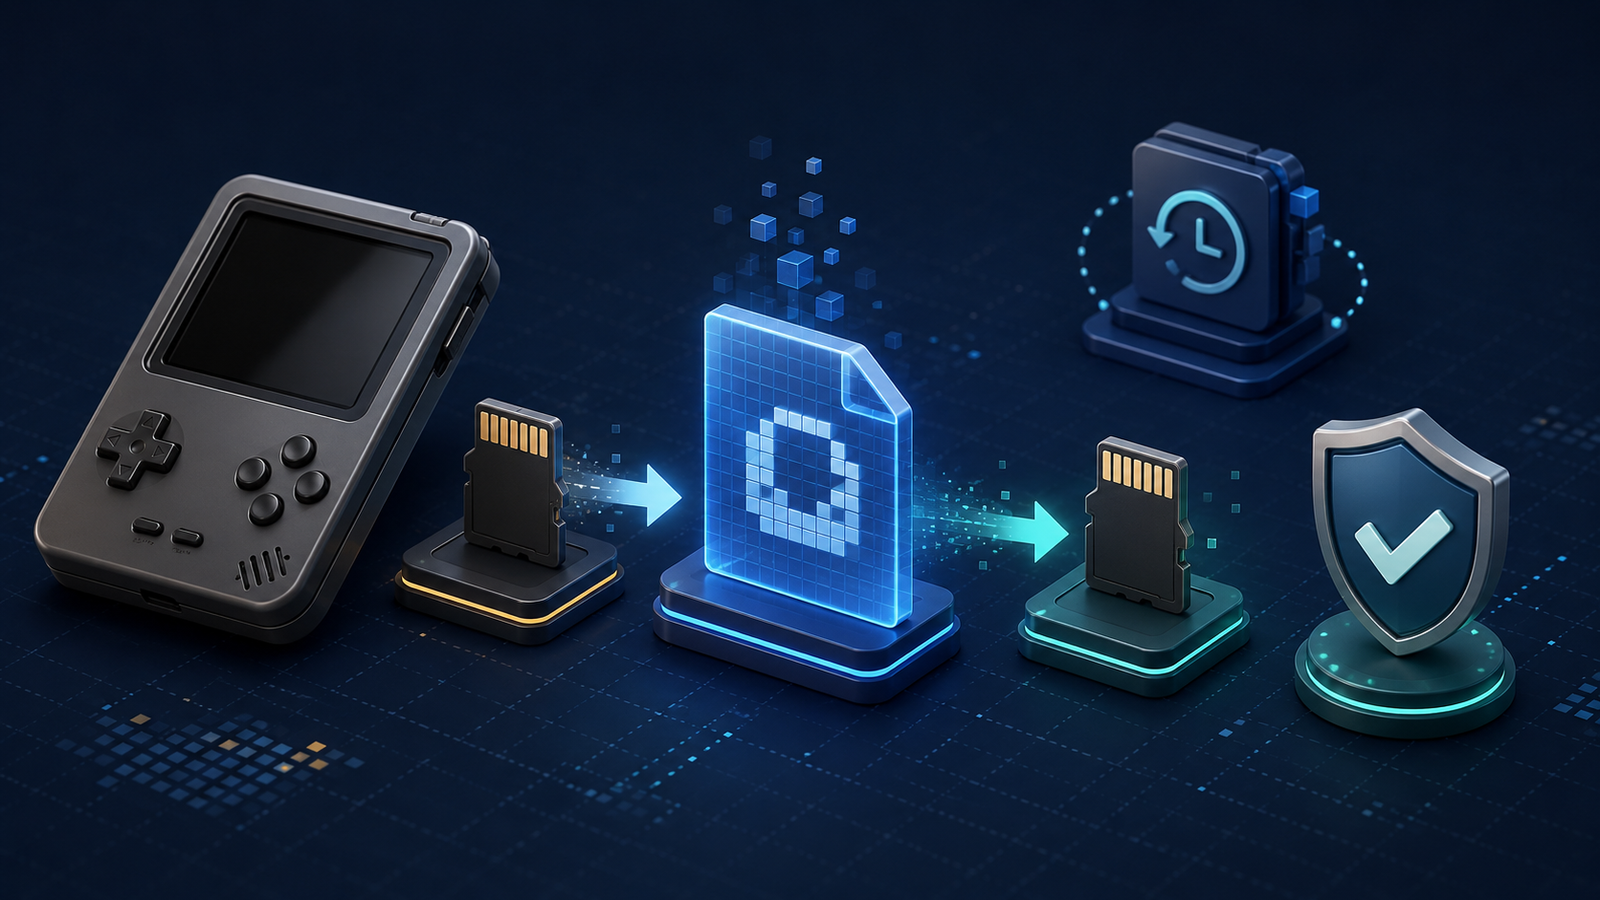

A retro handheld can store its operating system, emulator settings, BIOS files, game library, and saves on one or two tiny microSD cards. If a card becomes corrupted or stops working, replacing the hardware is easy; rebuilding every setting and recovering lost progress is not.
The safest approach is to keep both a file-level backup of important folders and, when appropriate, a full image of the entire card. This guide explains the difference, how to create a reliable backup, and how to restore it to a replacement card without confusing the source and destination.
File backup, disk image, or direct clone?
These three methods solve different problems:
- File backup: copies accessible folders such as saves, ROMs, BIOS files, screenshots, and configuration files. It is easy to update and lets you restore individual items.
- Full disk image: stores a sector-level copy of the entire card in one image file, including partitions your computer may not normally display. It is the best recovery option for a bootable firmware card.
- Direct clone: copies one card straight to another. It is convenient for immediate replacement but does not leave a separate recovery image unless you create one too.
For most owners, the strongest plan is a full image of the operating-system card plus frequent file backups of saves and other changing data.
Before you start
- Shut the handheld down through its menu before removing a card.
- Use a reliable USB card reader and a computer with enough free storage.
- Label the original card and keep it physically separate from any blank replacement.
- Disconnect unrelated external drives to reduce the chance of selecting the wrong device.
- Do not accept a prompt to format an unfamiliar partition.
If this is a new device, complete the checks in our first-time retro handheld setup guide before changing the original storage.
Step 1: Identify what each card contains
Some handhelds use one card for firmware and games. Others use a boot card in the first slot and a game card in the second. Record the slot, printed capacity, visible volume names, and approximate used space before copying anything.
A firmware card often contains several partitions. Windows may show only one readable volume while Linux partitions remain hidden. A normal drag-and-drop copy cannot preserve those hidden partitions or the boot structure, which is why a full disk image is useful.
Step 2: Create a file-level backup first
Copy every accessible folder to a clearly named directory on your computer. Prioritize saves, save states, BIOS files, emulator configuration, scraped artwork, game metadata, screenshots, and legally obtained game files.
Use a folder name that identifies the device, firmware, card slot, and date, such as HandheldName-Firmware-Slot1-2026-08-14. Add a short text note with the firmware version and any custom settings. This makes the backup understandable months later.
Do not treat save states as a replacement for in-game saves. Keep both when possible. A save state may depend on the same emulator core and version that created it, while a normal save file is often easier to migrate.
Step 3: Create a full image of the original card
Use a trusted disk-imaging tool that supports reading a physical removable device into an image file. In the tool, select the complete microSD device as the source—not just one visible partition—and choose a destination file on your computer or external backup drive.
Check the source capacity and device name twice before starting. The operation should read from the microSD card and write to an image file. If the interface describes writing, flashing, or restoring to the original card, stop and recheck the direction.
On macOS, Disk Utility can create an image from a selected disk or connected device through File → New Image → Image from [device]. Apple notes that a whole-device image includes used data and free space, so an image of a 64 GB card can require roughly 64 GB before compression.
Linux users can create device images with tools such as dd, but a reversed input and output can overwrite the wrong disk. Use a graphical imaging utility unless you are comfortable identifying block devices and reviewing the command before it runs.
Step 4: Verify the backup
A completed progress bar proves that a file was created, not that it can be restored. First, confirm that the image file size is plausible for the source card. Then calculate a SHA-256 checksum and store it beside the image in a text file.
On Windows, PowerShell includes Get-FileHash, which calculates a file hash and uses SHA-256 by default. If you copy the image to another drive later, calculate the hash again. A matching value shows that the image file did not change during the transfer.
The best verification is a test restoration to a spare card. Boot the handheld from the restored copy, open several systems, and confirm that settings and saves are present. Keep the original card untouched until this test succeeds.
Step 5: Restore or clone to a replacement card
Choose a replacement card whose actual capacity is at least as large as the source. Two cards both labeled 64 GB can differ slightly in usable sector count. A full image will not fit if the destination is even a little smaller than the source image expects.
Insert the blank card, select the saved image as the source, and select the new card as the destination. This step erases the destination completely, so verify the drive name and capacity again. Never keep the original and replacement cards connected if their similar names make selection unclear.
After restoration, safely eject the card and test it in the same slot used by the original. A larger card may initially show unused space because the restored partition layout retains the source size. Expand only the documented data partition with the firmware’s supported method.
When a direct clone does not boot
- The replacement card is slightly smaller than the source.
- Only the visible files were copied, so boot partitions are missing.
- The wrong physical device or a single partition was selected.
- The original card already contained corruption.
- The handheld requires a firmware-specific first-boot or partition-expansion step.
- The card was removed before the write and verification process finished.
If the cloned system boots but games are missing, use our game-list troubleshooting guide. If games launch with missing-firmware errors, check the retro handheld BIOS files guide.
Do not image a card that is clearly failing
If a card disconnects repeatedly, reports read errors, becomes extremely slow, or contains files that change unexpectedly, prioritize recovering irreplaceable saves and configuration files. Repeated full-card reads can place additional stress on failing media. Apple similarly warns that an image made from a failing or corrupted disk may not be a reliable backup.
A clone of corrupted data is still corrupted. Reinstalling clean firmware on a dependable card and restoring verified personal files may be safer than duplicating a damaged system image.
Format only after the backup is proven
Formatting erases access to the existing files and should never be the first troubleshooting step. The SD Association recommends copying important data elsewhere before formatting and provides its own SD Memory Card Formatter for preparing SD, SDHC, and SDXC media.
However, a bootable retro handheld image normally writes its own partition table and filesystems. Follow the firmware’s installation instructions instead of formatting the card repeatedly or choosing a filesystem by guesswork.
A practical backup schedule
- Once: create a full image after the handheld is configured and tested.
- Before updates: copy saves, configuration, BIOS files, and metadata.
- After long play sessions: copy the save folders if the firmware does not offer synchronization.
- After major changes: create a new full image and keep the previous known-good version temporarily.
Keep at least two copies on different storage devices. A backup stored only on the same computer is still vulnerable to drive failure, accidental deletion, or ransomware.
Final checklist
- The handheld was shut down before card removal.
- The original card is clearly labeled and untouched.
- Important files were copied separately.
- The full image includes the complete physical device.
- A SHA-256 checksum was saved with the image.
- The replacement card is not smaller than the source.
- The restored card was boot-tested before the original was retired.
- At least one backup copy is stored on another device.
A reliable backup is not simply an image file that finished writing. It is a documented copy that can be verified and restored. Keep the original card until a replacement boots successfully, protect changing save files separately, and test recovery before you actually need it.