
If your retro game stick controller is not working, the problem is usually in one of four places: the controller has no usable power, the small 2.4 GHz receiver is missing or connected incorrectly, the controller and receiver are not linked, or the software has assigned the input to the wrong player or emulator.
Do not start by formatting the game card or changing random controller settings. First determine whether the controller fails everywhere, only in the menu, only inside games, or only with one emulator. That distinction prevents a simple receiver problem from becoming a damaged configuration.
First, identify the exact controller problem
Turn on the game stick and watch both the controller and receiver, if the receiver has an indicator light.
- No controller light: check the batteries, polarity, battery contacts, power switch, and controller hardware.
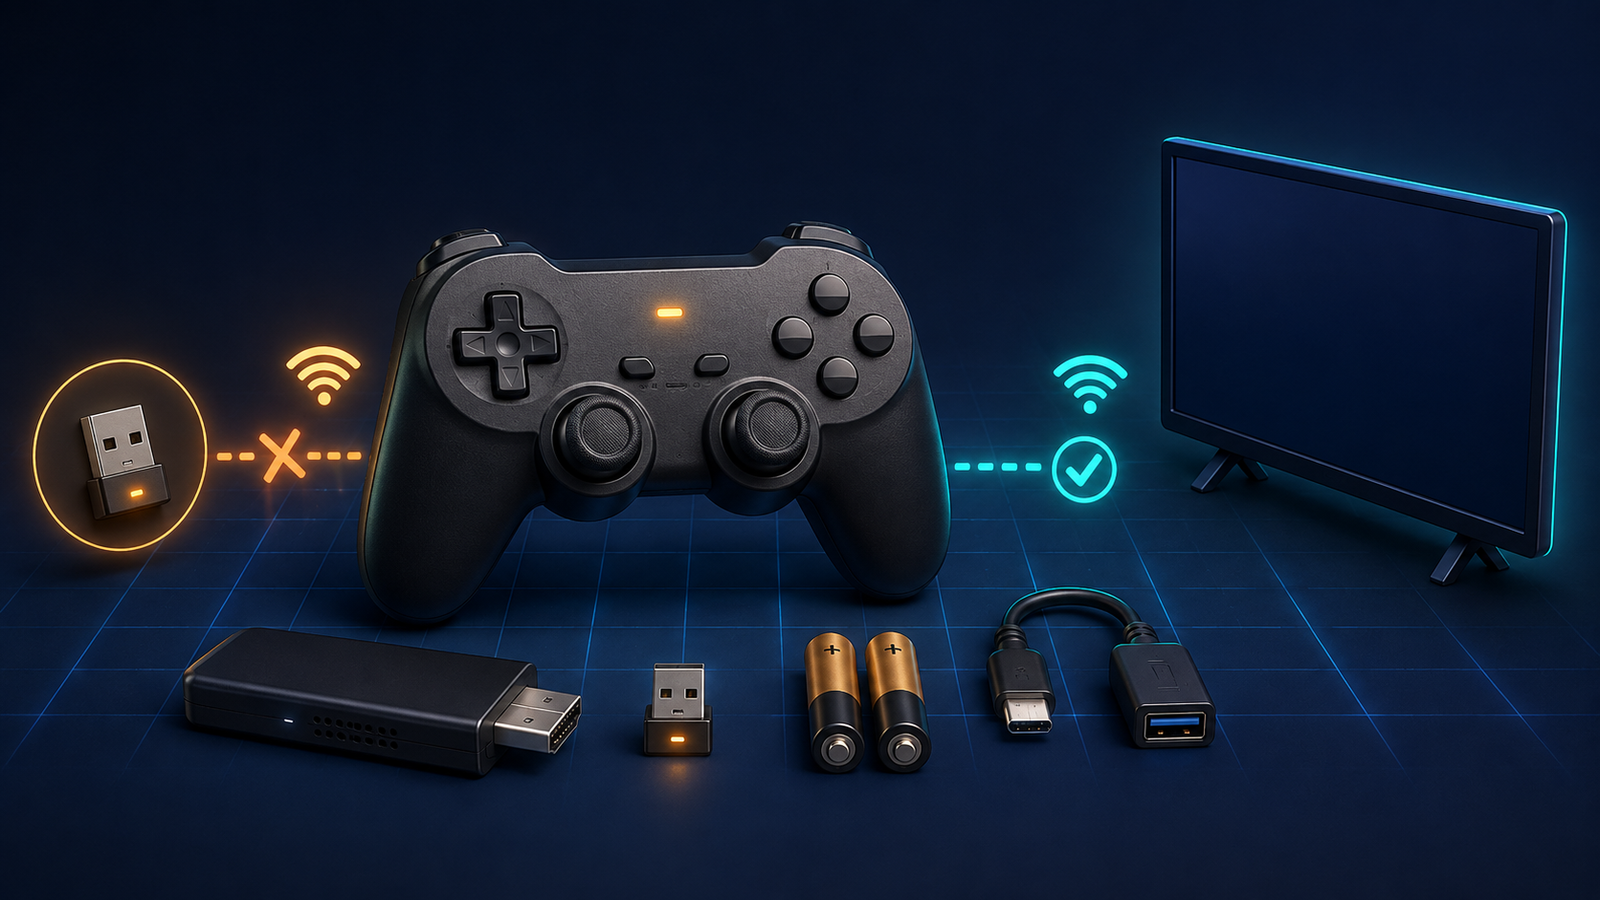
- Controller light keeps blinking: it is powered but probably has not connected to its receiver.
- Light becomes solid, but nothing moves: check the receiver port, player assignment, input mode, and software mapping.
- The menu works, but games do not: the global controller is detected; the problem is probably an emulator, core, port, or remap setting.
- Only the second controller fails: swap batteries, test one controller at a time, and check the Player 2 assignment.
If the TV shows no image at all, solve that first with the guide to fixing a retro game stick with no HDMI signal. A controller cannot be tested reliably until the stick has completed booting.
1. Replace the batteries and verify polarity
A light that flashes briefly does not prove that the batteries can maintain a stable wireless connection. Install a fresh, matched set of the battery type specified for the controller. Check the plus and minus markings and inspect the metal contacts for dirt, corrosion, or a contact that has been pushed out of position.
Do not mix old and new batteries. For a rechargeable controller, follow its manual: a USB cable may charge the battery without carrying controller data.
2. Find the small 2.4 GHz USB receiver
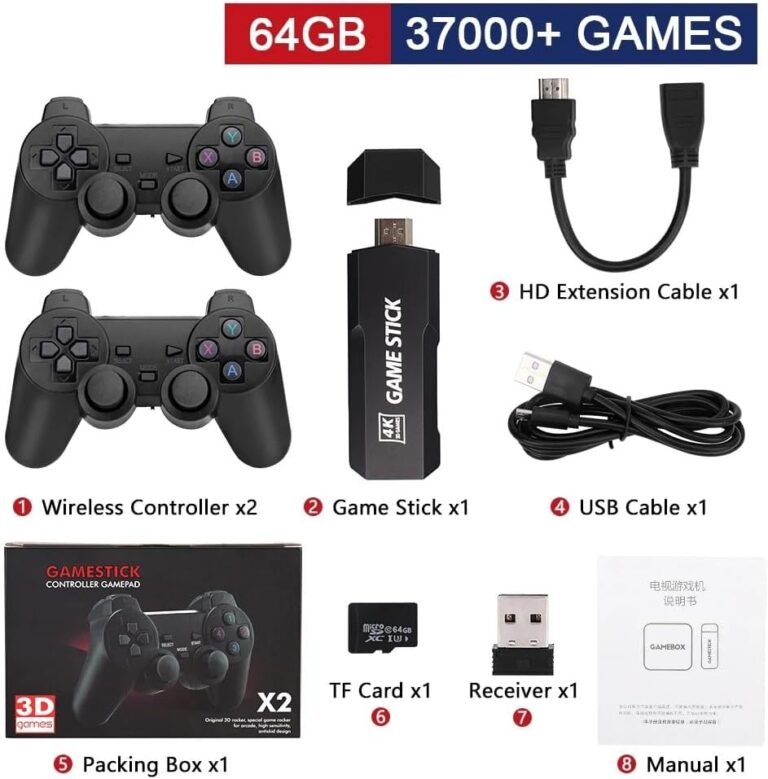
Many inexpensive game sticks use proprietary 2.4 GHz wireless controllers rather than Bluetooth. They depend on the small USB receiver supplied with the console.
Connect the matched receiver to the game stick’s controller input or included adapter exactly as the product instructions show. Do not plug it into a television USB port unless the manual explicitly says to do so; a TV port normally supplies power to a device but does not route controller input to the game stick.
A generic Bluetooth pairing screen cannot discover a controller that communicates only through its dedicated 2.4 GHz receiver. Likewise, a receiver from another visually identical controller may not be paired or electrically compatible.
3. Reseat the receiver and reboot in a clean order
Power the game stick off. Remove and firmly reconnect the receiver and any USB adapter, then install the controller batteries. Turn on the controller as directed and boot the stick. Some sets connect automatically; others expect the receiver to be present during startup.
If the receiver is connected through a loose extension or unpowered hub, test the direct supported connection. Avoid repeatedly unplugging the system microSD card during controller tests. The card contains the operating system on many game sticks and is unrelated to a controller that has no power light.
4. Use only the documented pairing procedure
Pairing combinations are not universal. A MODE, HOME, START, or receiver button may initiate pairing on one model and change input mode on another. Check the label, quick-start sheet, or exact model manual before holding a combination.
As a reference, official 8BitDo receiver instructions commonly describe putting both the adapter and controller into pairing mode, then waiting for a solid status light. That sequence illustrates the principle, but its buttons should not be copied to a generic game stick controller unless the manufacturer specifies them.
Keep the controller close to the receiver during pairing. If the light never changes from rapid blinking to a stable state, restart once and repeat the correct procedure. Endless random button combinations can activate an unwanted mode and make diagnosis harder.
5. Reduce distance and wireless interference
Test within one or two meters with a clear path to the receiver. Move the receiver away from the back of a metal television when the included extension permits it. Temporarily disconnect unnecessary USB devices and move Wi-Fi routers, USB 3.0 hubs, and other 2.4 GHz transmitters away from the test area.
6. Test one controller and one player at a time
Remove the batteries from the second controller and test Player 1 alone. Then swap the batteries and repeat with the other controller. This separates a bad controller from a bad receiver or software problem.
If both controllers move Player 1 or the second pad controls nothing, open the system’s controller settings and check which device is assigned to Input 1 and Input 2. Avoid remapping both simultaneously.
7. If the menu works, check the emulator’s controller port
A controller that navigates the main game list is already detected at the operating-system level. If it stops responding after a game launches, check the emulator or RetroArch core rather than pairing it again.
RetroArch uses a virtual RetroPad layout and can apply global bindings, per-core controls, and game-specific remaps. Confirm that Port 1 Controls uses the correct physical device and that the mapped device type is supported by the selected core. BootPixel’s RetroArch controller mapping guide explains global settings and core remaps without overwriting unrelated profiles.
If the controller works in most systems but fails in one arcade game or console, the issue is probably a core-specific device type or remap. Do not replace the receiver when the same controller operates normally elsewhere.
8. Fix wrong buttons without losing menu control
When A and B are reversed or an analog stick behaves like a directional pad, first check whether the controller has changed between X-input, D-input, Android, or another mode. Mode support depends on the controller and the Linux drivers included with the game stick.
Use RetroArch’s autoconfiguration profile when the controller is recognized correctly. The official Libretro documentation notes that an autoconfig profile identifies the controller and assigns its buttons to the RetroPad layout. If no suitable profile exists, bind controls carefully and keep a reliable way to return to the menu.
Before changing hotkeys, read the RetroArch hotkeys guide. Mapping the same button to gameplay and menu exit can make a system appear broken even though the wireless connection is fine.
9. Protect the game card before editing configuration files
If the problem began after changing configuration files or adding games, back up the card before attempting recovery. Follow the guide to adding games to a retro game stick without breaking the SD card.
Do not accept a computer’s automatic format prompt simply because it cannot read a Linux partition. Do not download a random image for a similar-looking stick: identical shells are sold with different boards, receivers, and controller configurations.
10. Know when the problem is probably hardware
Hardware becomes more likely when a controller shows no light with confirmed-good batteries, its contacts are damaged, the receiver is cracked, or only one pad fails after swapping batteries and player assignments.
If the controller or receiver becomes unusually hot, smells burnt, or has liquid damage, disconnect power and stop using it. Replacement should match the exact game stick model or use a controller that the operating system officially supports.
Quick diagnosis table
| Symptom | Best first check | Avoid |
|---|---|---|
| No controller light | Fresh batteries, polarity, contacts, and power switch | Formatting the game card |
| Light keeps blinking | Matched USB receiver and documented pairing method | Random pairing combinations |
| Solid light but no menu input | Receiver port, adapter, input mode, and Player 1 assignment | Assuming every USB port carries data |
| Menu works, games do not | RetroArch port, core device type, and remaps | Re-pairing a working controller |
| Only Player 2 fails | Test each pad alone and verify Input 2 | Remapping both pads at once |
| Short range or dropouts | Battery strength, distance, receiver position, interference | Changing emulator files first |
The safest troubleshooting order
- Confirm that the game stick boots and displays its menu.
- Install fresh batteries and check the controller light.
- Find and reseat the exact supplied 2.4 GHz receiver.
- Restart with one controller connected.
- Use only the model’s documented pairing method.
- Test range and remove nearby sources of interference.
- Check Player 1 and Player 2 assignments.
- Change RetroArch ports or remaps only if the menu already works.
- Back up the game card before editing or replacing configuration files.
Treat power, receiver connection, pairing, player assignment, and emulator mapping as separate layers. Change one variable at a time and preserve the original card until the controller works in both the menu and games.