
Adding games to a retro game stick should be a simple file-copying job, but generic hardware makes it easy to damage the system card, use the wrong folder, or create a library that the menu cannot detect. The safest method is to identify how your stick stores games, make a complete backup, add a small test batch, and refresh the library before copying a large collection.
This guide applies to common Linux-based game sticks and frontends such as EmulationStation-style menus and RetroArch. Exact folder names and supported formats vary, so use the existing card structure and your model’s documentation as the final reference. Only add games you have the legal right to use, such as your own dumps, freeware, or homebrew releases.
Before you copy anything, identify the storage layout
Game sticks usually use one of three layouts:
- One microSD card for everything: the operating system, emulator settings, games, and saves share the same card.
- A system card plus a separate games card: one card boots the device while the second contains the library.
- Internal storage plus removable media: the frontend runs internally and reads games from microSD or USB storage.
Power the stick down through its menu when possible, disconnect power, and remove only the card intended for user-accessible games. If there are two cards, photograph their positions and labels first. Never swap them casually: a games card may be readable on a computer while a system card contains several unfamiliar partitions.
1. Create a complete backup first
Do not begin by dragging every visible file into a folder. A normal copy may omit boot partitions, Linux partitions, or metadata required by the frontend. Make a full disk image of the original card so you can restore the exact partition layout if the stick stops booting.
Follow the BootPixel guide to back up and clone a retro gaming microSD card safely. Keep the image on another drive, confirm its file size, and record which physical card it came from. If the included card is unreliable, clone it to a reputable replacement before building a larger library.
2. Let the existing folders tell you where games belong
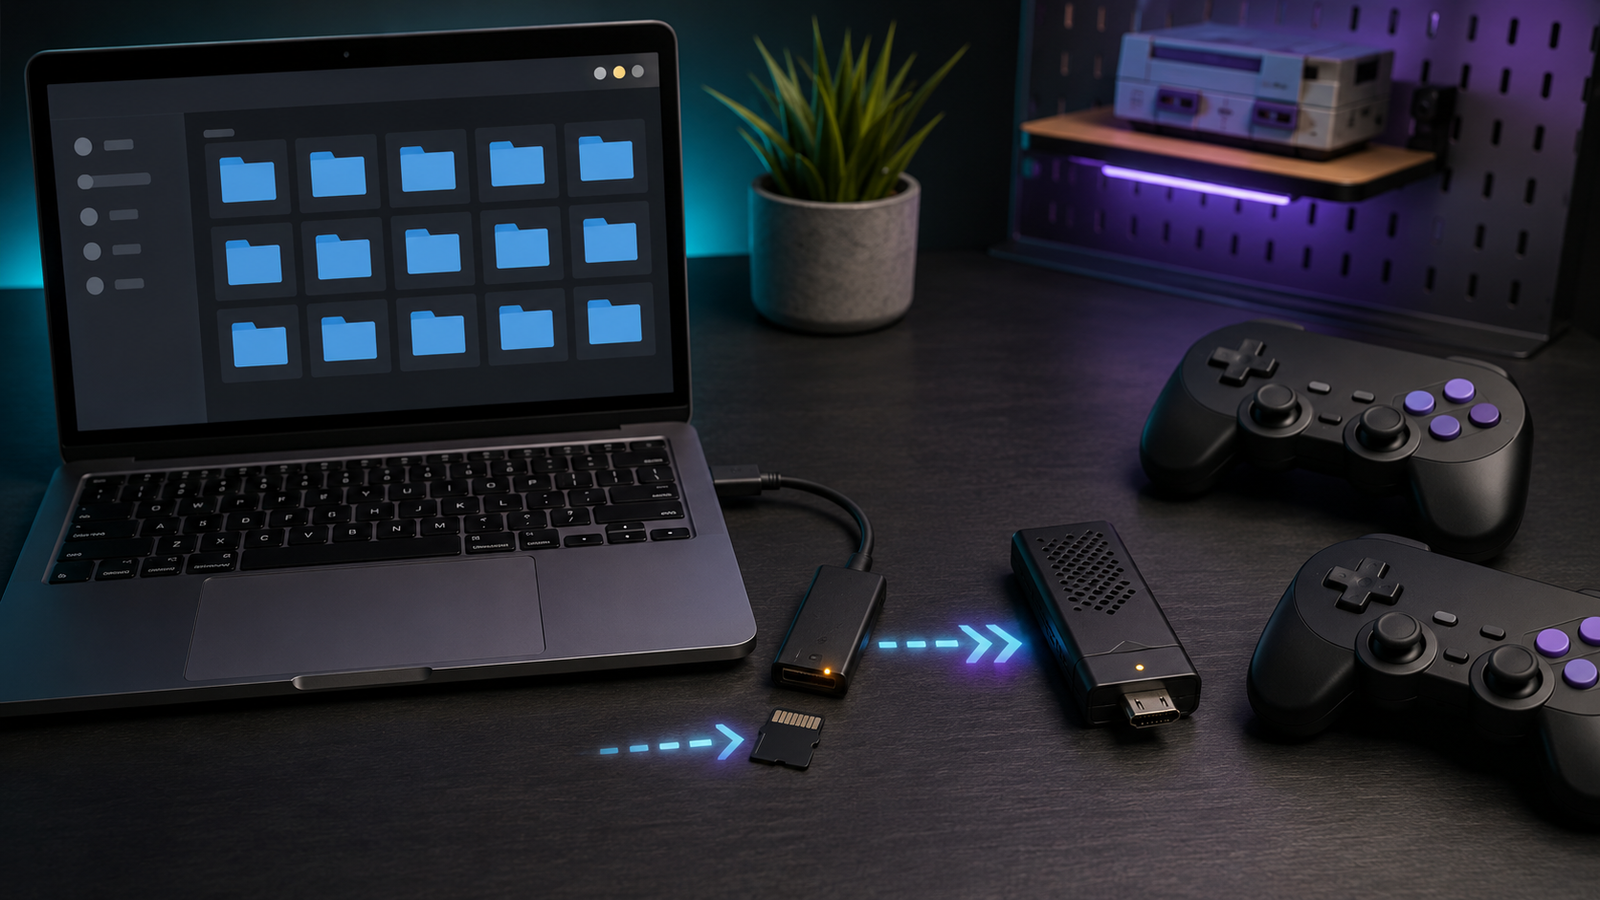
Insert the games card into a computer through a reliable reader. Look for a partition with a familiar file system and folders such as roms, Roms, games, or system-specific directories. Examples might include nes, snes, gb, gba, megadrive, psx, or arcade.
Do not rename those folders to make them look cleaner. Frontends often map an exact directory name to an emulator configuration. Batocera’s official documentation, for example, uses system-specific directories inside its ROM storage and only displays systems that contain recognized games. ES-DE likewise generates a ROM directory structure and expects content in the appropriate system folders.
If the card has no obvious games partition, stop and check the model’s instructions. Do not format a partition simply because Windows or macOS reports that it cannot read it.
3. Check the accepted file formats
A correct folder is not enough if the emulator does not accept the file extension. Cartridge systems may support formats such as .nes, .sfc, .smc, .gb, .gbc, .gba, .md, or compressed archives. Disc-based systems may use combinations such as .cue plus .bin, .chd, .iso, or .pbp.
Do not assume every ZIP file should remain compressed. RetroArch’s official guide notes that disc images generally should not be zipped, while support for compressed cartridge games depends on the core and frontend. Check the emulator or core documentation for your system rather than changing extensions manually.
For cue-and-bin games, copy every required track together and keep the filenames referenced inside the CUE sheet unchanged. Multi-disc games may need a playlist file such as .m3u so the emulator treats all discs as one entry. Start with a single-disc title before troubleshooting a complex set.
4. Copy a small, clean test batch
Create a temporary folder on your computer containing one or two legally obtained games for a system already visible on the stick. Use simple filenames without unusual punctuation, extremely long names, or nested archive folders. Copy those files into the matching system directory.
A small test batch makes diagnosis much easier. If two games work, the basic path, file format, and emulator are probably correct. If you copy thousands of files at once, a damaged archive, duplicate set, incompatible format, or full card can hide the real problem.
Wait for the transfer to finish completely. Check the destination file sizes, then use the operating system’s eject or safely remove command before pulling the card. Removing media while writes are cached can corrupt the file system even after the progress window disappears.
5. Refresh the game list or scan the content
Reinsert the card in the original slot, reconnect the stick, and boot normally. Some frontends detect new games automatically. Others require an option such as Update Game Lists, Refresh Games, or Rescan Library. Batocera documents its update command under Game Settings, while other EmulationStation-based interfaces place it in the main menu.
RetroArch uses playlists. Its automatic scanner compares content with database entries, so a valid game may be skipped if its checksum or internal serial does not match the database. The official RetroArch documentation recommends a manual scan when you need more control over the system name, core, file extensions, or database matching.
If your game stick launches games from a custom frontend, refresh the frontend first instead of creating RetroArch playlists immediately. The frontend may maintain its own game list and call RetroArch only after you select a title.
6. Add BIOS files only when the system requires them
Some systems need firmware in addition to the game file. BIOS files usually belong in a dedicated system or BIOS directory, not beside every ROM. Filenames, capitalization, subfolders, and checksums can matter.
Use the BootPixel BIOS files guide to identify the correct location and verify files without downloading random firmware packs. RetroArch’s official BIOS documentation also recommends checking the active System/BIOS directory and the documentation for the specific core.
7. Test saves before expanding the library
Launch each test game, play for several minutes, create an in-game save if supported, close the game normally, and reopen it. Also test a save state only if you plan to use that feature. A game that launches but cannot save may reveal a read-only card, incorrect permissions, a full partition, or an unstable microSD card.
Once the test games appear, launch, and save correctly, add the rest of the library in manageable groups organized by system. Leave free space for saves, scraped artwork, thumbnails, and configuration files. Filling flash storage to its absolute limit can reduce reliability and leaves no room for the frontend to update metadata.
If the new games do not appear
- Confirm that the files are in the exact system folder already used by the device.
- Check that the extension is supported by the configured emulator or core.
- Extract archives only when the core does not support the compressed format.
- Refresh the frontend’s library or perform an appropriate RetroArch scan.
- Verify BIOS requirements for systems that reach a black screen or firmware error.
- Check available storage and test the card for file-system errors.
For a deeper diagnosis, follow the checklist for games that are not showing up on a retro device. It covers folder naming, extensions, library databases, arcade sets, hidden files, and corrupted storage.
If the stick stops booting after reinserting the card
Power it off and confirm that the card is fully seated in the correct slot. Do not immediately format or flash it. Test the backup or cloned card, then work through the retro game stick no-signal and boot troubleshooting guide. A boot failure after file transfer can indicate card corruption, unstable power, or accidentally changing the system partition.
Safe workflow summary
- Identify which card or partition stores games.
- Create a full image backup.
- Preserve the existing folder structure.
- Confirm supported formats for each system.
- Copy one or two test games.
- Eject the card safely.
- Refresh the frontend or scan the content.
- Test launching and saving before adding more.
The safest game-stick library is built gradually. A verified backup and a two-game test take more time at the beginning, but they prevent the much larger job of rebuilding an unknown system card after a bad transfer.