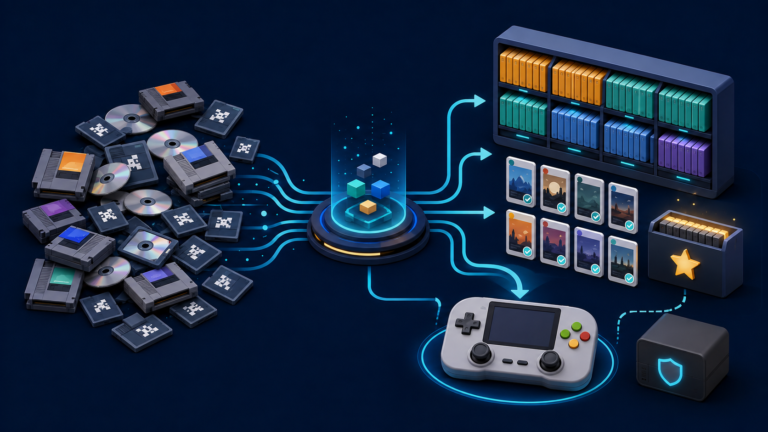
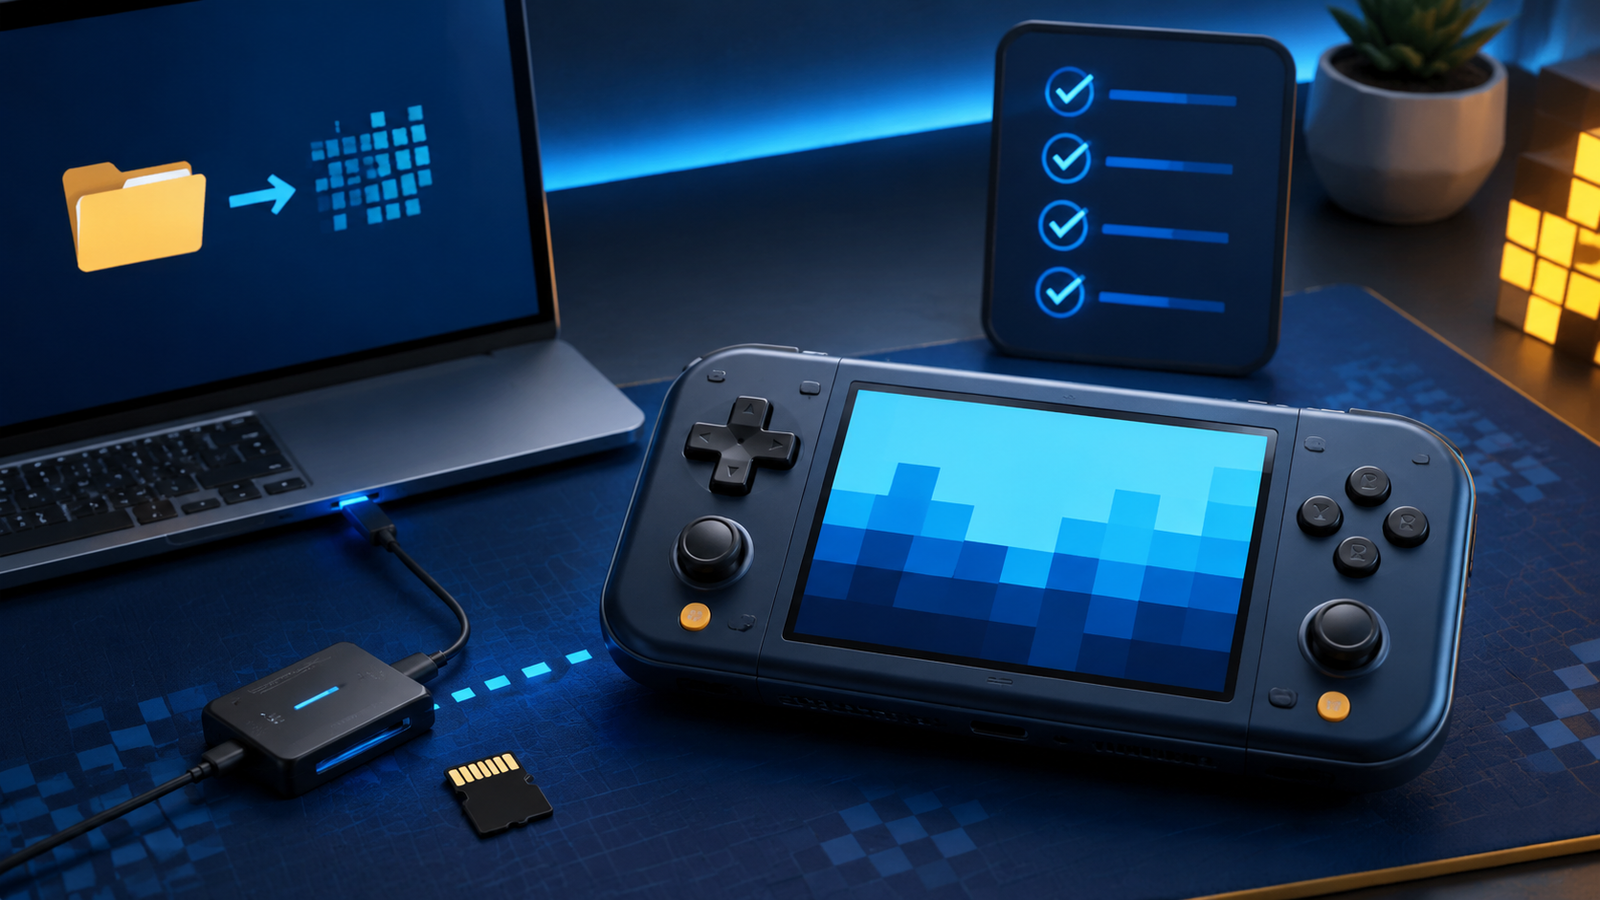

A new retro handheld can be confusing at first. You may see unfamiliar folders, multiple emulator settings, and a microSD card that already contains software. The safest approach is to slow down, protect the original setup, and test one system at a time. This guide walks you through a reliable first-time setup without assuming that every handheld uses the same firmware.
Before you start
- Charge the handheld fully before updating or installing firmware.
- Confirm the exact model and hardware revision printed on the device or packaging.
- Use a computer with a microSD card reader.
- Keep your original card untouched until the replacement setup works.
- Only use game and BIOS files that you are legally entitled to use.
Important: firmware images are device-specific. A file made for a similar-looking handheld can still be incompatible. Always verify support on the official project page before writing an image to a card.
1. Identify the hardware and current software
Start by recording the handheld’s full model name, storage layout, and current operating system. Some devices have one microSD slot, while others use one card for the operating system and a second card for games. Open the system information screen and photograph the version number so you can return to it later.
Before changing anything, test the screen, speakers, headphone jack, controls, charging port, Wi-Fi, and a few games. If a button or port is defective, it is better to discover that before replacing the software.
2. Back up the original microSD card
Many retro handhelds arrive with a preconfigured card. Even if you plan to replace it, keep a backup. Copy every accessible folder to your computer. For a more complete safety copy, use a disk-imaging tool that can create an image of the entire card, including partitions that Windows or macOS may not normally display.
Follow our retro handheld microSD backup and cloning guide for a safe workflow, image verification, and replacement-card testing.
Do not accept an operating system prompt to format an unfamiliar partition. Linux-based handheld cards often contain partitions that Windows cannot read. Formatting them can erase the firmware.
3. Decide whether to keep the stock firmware
You do not have to install custom firmware immediately. Keep the stock system if the controls work, games launch correctly, and you are still learning the device. Consider a supported alternative only when it offers a clear benefit such as better system organization, more reliable updates, improved performance profiles, or easier game management.
Compatibility matters more than popularity. Projects such as ROCKNIX, AmberELEC, and ArkOS support specific devices and sometimes specific revisions. Read the official installation instructions and known issues before downloading anything.
4. Use a dependable microSD card
A replacement card from a reputable manufacturer is one of the most useful upgrades for a handheld that shipped with an unknown card. Choose enough capacity for the systems you intend to use rather than buying the largest card automatically. Older cartridge-based libraries require far less space than disc-based systems.
If you install new firmware, download the image for your exact device, extract it if the project requires that step, and write it with the recommended imaging tool. For example, the official AmberELEC instructions specify extracting the downloaded image before flashing and completing the first boot with the expected card layout.
5. Complete the first boot before adding games
Insert the firmware card while the handheld is powered off, then start the device and let the first-boot process finish. The system may resize partitions, create folders, and restart. Do not interrupt it simply because the first boot takes longer than normal.
If the device supports a separate games card, follow the firmware’s documented sequence. Some systems create the required folder structure automatically only after the card has been inserted and the handheld has completed a boot.
6. Add a small, legal test library
Begin with a few games you have legally obtained rather than copying an entire library. Place each file in the folder assigned to its original system. Folder names and supported file extensions vary by firmware, so use its system documentation instead of guessing.
ROCKNIX, for example, documents its ROM folders and instructs users to refresh the game list after transferring files. A small test library makes it easier to diagnose a wrong folder, unsupported format, or missing dependency.
7. Add BIOS files only when required
Some emulator cores require original system firmware files, commonly called BIOS files. Others can start without them but may have reduced compatibility. The file name, extension, and folder must match the emulator’s requirements exactly; capitalization can matter on Linux-based systems.
RetroArch displays its active BIOS location under Settings → Directory → System/BIOS. Check the documentation for the specific core before adding files. Avoid downloading random “complete BIOS packs,” which may be inaccurate, unsafe, or distributed without permission.
For the complete process, follow our retro handheld BIOS files guide to check the correct directory, filename, capitalization, and checksum.
8. Refresh the library and test one system at a time
After copying games, safely eject the card, return it to the powered-off handheld, and boot normally. Refresh or update the game list if new titles do not appear. Launch one game from each system you added and check:
If your files are still missing after a refresh, use our troubleshooting guide for games that do not appear on a retro handheld before changing emulator settings.
- Controls and analog-stick mapping
- Audio without crackling or excessive delay
- Correct aspect ratio and readable image scaling
- The menu or hotkey used to exit a game
- In-game saves and save states
Avoid changing many global settings at once. If one game needs a different emulator core, control layout, or performance option, use a game-specific or system-specific override when the firmware supports it.
9. Test saving before investing hours in a game
Create an in-game save, close the game normally, restart the handheld, and load the save. Then test a save state separately. These are different systems, and a working save state does not prove that normal game saves are being written correctly.
Locate the save folders and copy them to your computer. ArkOS documents that game saves and save states are stored in the corresponding ROM folders on supported setups, while RetroArch allows dedicated save and save-state directories. Your backup plan should match the firmware you actually use.
10. Create a simple backup routine
Once the handheld works correctly, back up the folders containing saves, save states, BIOS files, configuration files, and game metadata. Keep at least one copy outside the microSD card. Repeat the backup before firmware updates or major configuration changes.
Common first-time setup mistakes
- Flashing the wrong image: similar model names do not guarantee identical hardware.
- Erasing the original card: preserve it until the replacement has been fully tested.
- Removing a card while powered on: shut down first to reduce the risk of corruption.
- Copying everything at once: a small test library is easier to troubleshoot.
- Changing global emulator settings: one adjustment can unintentionally affect many systems.
- Skipping the save test: confirm that progress survives a restart before playing for hours.
Quick first-day checklist
- Confirm the exact model and revision
- Test the original hardware and software
- Back up the original microSD card
- Use firmware officially listed for the device
- Complete the first boot before adding files
- Add a small legal test library
- Verify controls, audio, exit hotkeys, and saves
- Back up the working configuration
Official references
- RetroArch directory configuration
- RetroArch BIOS information hub
- ROCKNIX: adding games
- AmberELEC installation guide
- ArkOS official wiki
A careful setup takes a little longer on the first day, but it gives you a stable handheld, predictable saves, and a recovery path if a future update goes wrong.