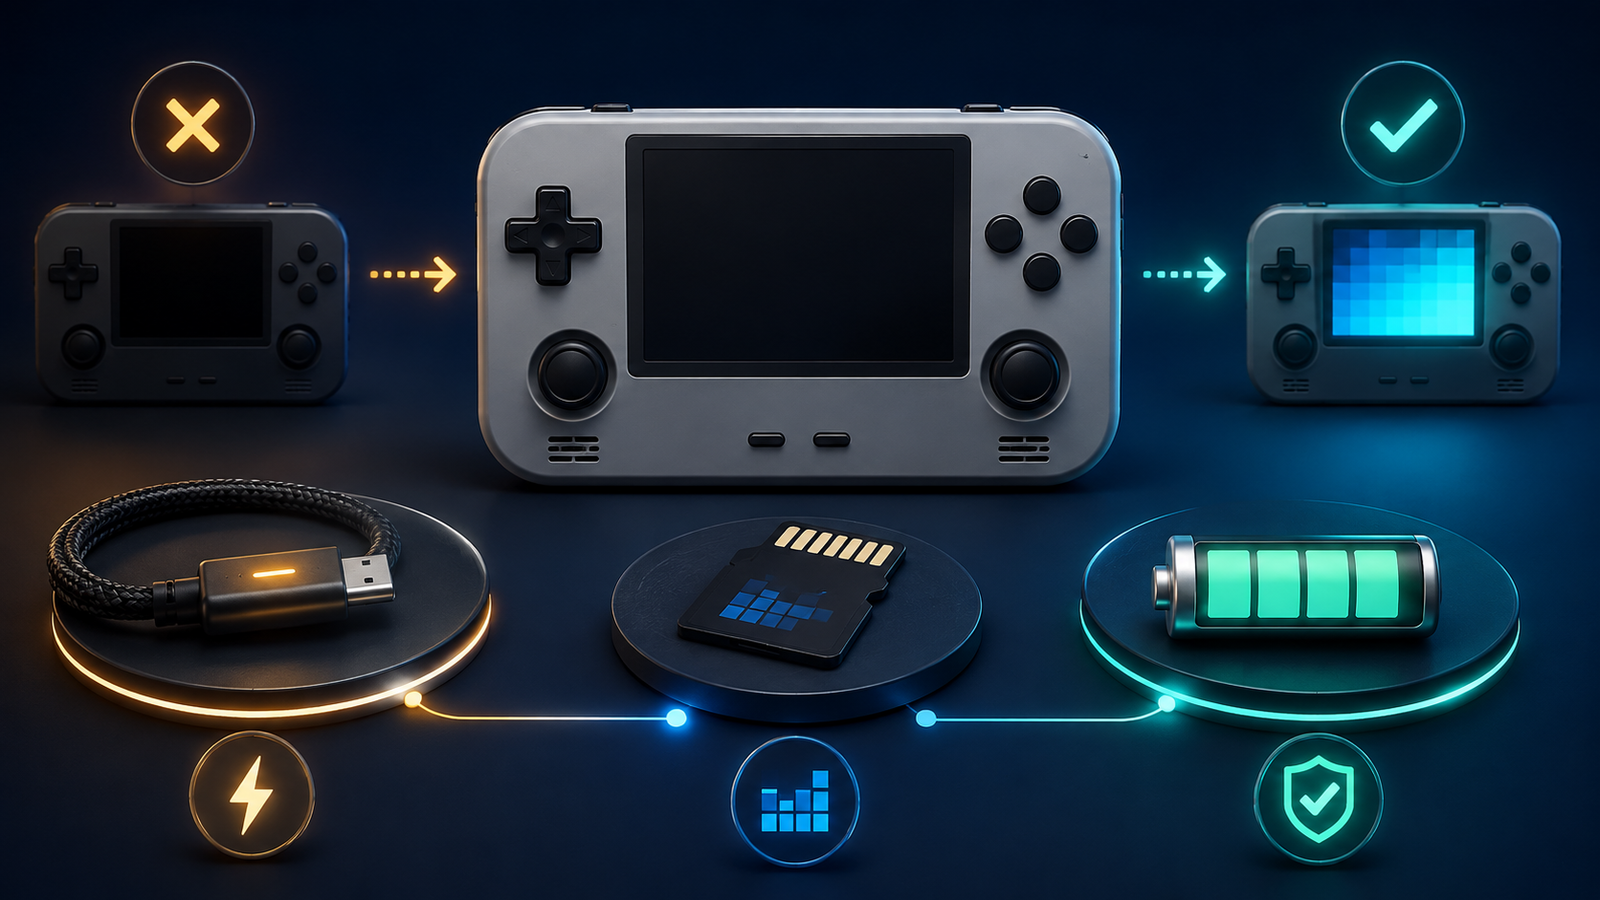

If your retro handheld won’t turn on, do not begin by flashing random firmware or opening the case. A device that appears completely dead can have a simple charging problem, while a handheld that shows a power LED or logo may be failing later in the boot process. The safest approach is to identify exactly where startup stops, then test one layer at a time.
This guide covers common Android- and Linux-based handhelds. Button combinations, charger requirements, card slots, and firmware images vary by model, so follow model-specific instructions when they differ.
First, identify what “won’t turn on” means
Watch the handheld closely while pressing the power button. The symptom determines which checks make sense:
- No LED, sound, vibration, or screen response: start with the charger, cable, charging port, power button, and battery.
- Charging LED appears, but the device stays off: allow a proper charge, then check the required startup procedure and system card.
- Power LED is on, but the screen is black: the device may be booting with a display, firmware, or card problem.
- A logo appears and freezes or loops: focus on the operating-system microSD card, firmware image, and interrupted updates.
- The menu opens, but games do not: the handheld has turned on; use the separate guide for games missing from a retro handheld.
Remove unnecessary USB accessories, HDMI adapters, controllers, and the second games card before testing. Leave the system card installed if your model boots from microSD.
1. Use the correct charging method
Check the label, manual, or official support page for the required input. Many inexpensive handhelds expect a basic 5-volt USB supply and may not behave reliably with every USB-C Power Delivery charger or USB-C-to-USB-C cable. Other devices support modern fast-charging standards. Do not assume that one rule applies to every handheld.
Use the original cable when available, or a known-good cable and supply that match the manufacturer’s specification. Inspect the port without inserting metal tools. Charge the handheld while it is off for the period recommended by its manufacturer before trying again. Anbernic’s official RG35XX troubleshooting likewise places cable, specified power supply, system card, and charging checks before firmware recovery.
A charging light proves that some power is reaching the device; it does not prove that the battery is healthy or that the operating system can boot.
2. Try the normal power and reset procedure
After charging, disconnect unnecessary accessories and hold the power button for the duration stated in the manual. A quick tap may not be enough. If the device has a reset button, use it only as documented for that model. Do not repeatedly press reset during a firmware update or while the storage card is being written.
If the handheld was frozen rather than fully off, a documented long-press shutdown may clear the state. After it powers down, wait several seconds and attempt one clean startup.
3. Check whether the handheld requires a system microSD card
Many Linux handhelds load their operating system from the card in the first slot, often labeled TF1 or OS. If that card is absent, loose, corrupted, or placed in the games-only slot, the unit may show a black screen, a logo, or no obvious boot progress. Android handhelds and some Linux models boot from internal storage instead, so removing the card has different meaning.
Turn the device fully off before touching the card. Remove it, inspect it for damage, and reinsert it firmly in the correct slot. If the card is readable on a computer, back up accessible files before repairing, formatting, or reflashing anything. Never accept an automatic “format this drive” prompt simply because Windows cannot read a Linux partition.
For future protection, follow BootPixel’s guide to back up and clone a retro handheld microSD card. If the original card is unreliable, the microSD card buying guide explains capacity, speed ratings, and reliability considerations.
4. Separate the operating-system card from the games card
On a two-card handheld, the first card may contain the operating system while the second contains games. Test with only the required OS card and follow the device-specific slot instructions.
Projects such as ArkOS and ROCKNIX distribute complete images that must be written with an imaging tool. Do not copy them onto the system card as ordinary files.
5. Test the card without destroying recoverable data
If the card is detected by a computer, copy personal saves, screenshots, configuration files, and legally obtained game backups before making changes. A card that disconnects, reports read errors, changes capacity unexpectedly, or cannot complete a verified copy may be failing.
Test a fresh, reputable card instead of repeatedly repairing an unknown stock card. Keep the original untouched until the replacement boots because it may contain device-specific configuration files.
6. Reflash only the exact firmware for the device
Reflashing is appropriate when the handheld receives power but the system card is corrupted, stuck at a logo, or no longer readable. It is not the first response to a swollen battery, damaged charging port, broken screen, or completely unknown hardware condition.
- Confirm the exact model, hardware revision, processor family, and screen variant when applicable.
- Download firmware only from the manufacturer or the official project page.
- Read the project’s installation notes before choosing a card format or imaging tool.
- Write the decompressed image to a different, trusted microSD card.
- Safely eject the card, insert it in the correct slot, and allow the documented first boot to finish.
ROCKNIX and ArkOS document device-specific images and first-boot installation steps. Onion’s official guide also shows that firmware compatibility, hidden installation folders, card format, and folder structure matter.
Never use a firmware image merely because the shell looks identical. Similar-looking handhelds can contain different screens, boards, memory, or wireless hardware.
7. Do not confuse BIOS files with device firmware
Console BIOS files are used by particular emulators after the handheld operating system has started. A missing PlayStation or Sega CD BIOS may stop a game from launching, but it normally does not make the entire handheld power off or fail before the menu appears.
If the system menu loads and only one emulated console fails, see BootPixel’s BIOS file guide. If no menu appears, investigate power, the OS card, and device firmware first.
8. Decide whether it is booting with a display problem
A power LED, startup sound, vibration, or button feedback with a black screen suggests that the board may be running. If the issue began immediately after installing firmware, check image and display compatibility first.
Do not open the case or reconnect display cables unless you understand the risk, the device is out of warranty, and model-specific repair information is available. Internal batteries and delicate ribbon connectors are easy to damage.
9. Stop if the battery shows warning signs
Stop using and charging the handheld if the case is separating, the battery is swollen, there is a chemical smell, the device becomes unusually hot while idle, or the battery area is damaged. Keep it away from flammable materials and seek qualified repair or local battery-disposal guidance. Do not puncture, squeeze, flatten, or continue testing a swollen lithium battery.
The U.S. Consumer Product Safety Commission identifies overheating, fire, charger-related electrical hazards, and thermal burns among reported battery and charger risks. Software troubleshooting is not appropriate when physical battery damage is suspected.
Quick diagnosis table
| Symptom | Most useful first check | Avoid |
|---|---|---|
| No light or response | Correct charger, cable, port, and charging time | Immediate firmware flashing |
| Charging light but no startup | Documented power/reset method and required OS card | Random button combinations |
| Power LED with black screen | Correct firmware image and display-specific configuration | Assuming the battery is the only cause |
| Frozen or looping boot logo | Back up the card and test a verified image on a fresh card | Formatting the original before backup |
| Menu opens but games fail | ROM folders, emulator core, and BIOS requirements | Replacing device firmware first |
| Swelling, odor, or abnormal heat | Stop use and obtain qualified service | Charging or opening the battery |
A safe order to follow
- Record the exact LEDs, sounds, logo, and screen behavior.
- Remove accessories and use the specified charger and cable.
- Try one documented power or reset procedure.
- Reseat the required system card with the device off.
- Back up all readable data before changing the card.
- Test the correct official image on a separate reliable card.
- Stop and seek service if there is battery damage or no response with known-good power.
A retro handheld that won’t turn on is easiest to diagnose when power, storage, firmware, display, and hardware are treated as separate layers. Preserve the original card, change one variable at a time, and use only model-specific documentation. If the handheld starts after recovery, complete the first-time retro handheld setup checklist before restoring games and saves.