
You change a hotkey, video option, controller setting, or save directory in RetroArch, restart the program, and discover that everything has returned to the old values. This usually does not mean RetroArch is broken. In most cases, the setting was saved to the wrong configuration layer, the main configuration file could not be written, or a more specific override replaced the global value when a game loaded.
This guide explains how RetroArch saves settings, how to identify the file that is taking priority, and how to fix read-only storage without deleting a working setup.
First: Understand Where RetroArch Saves Settings
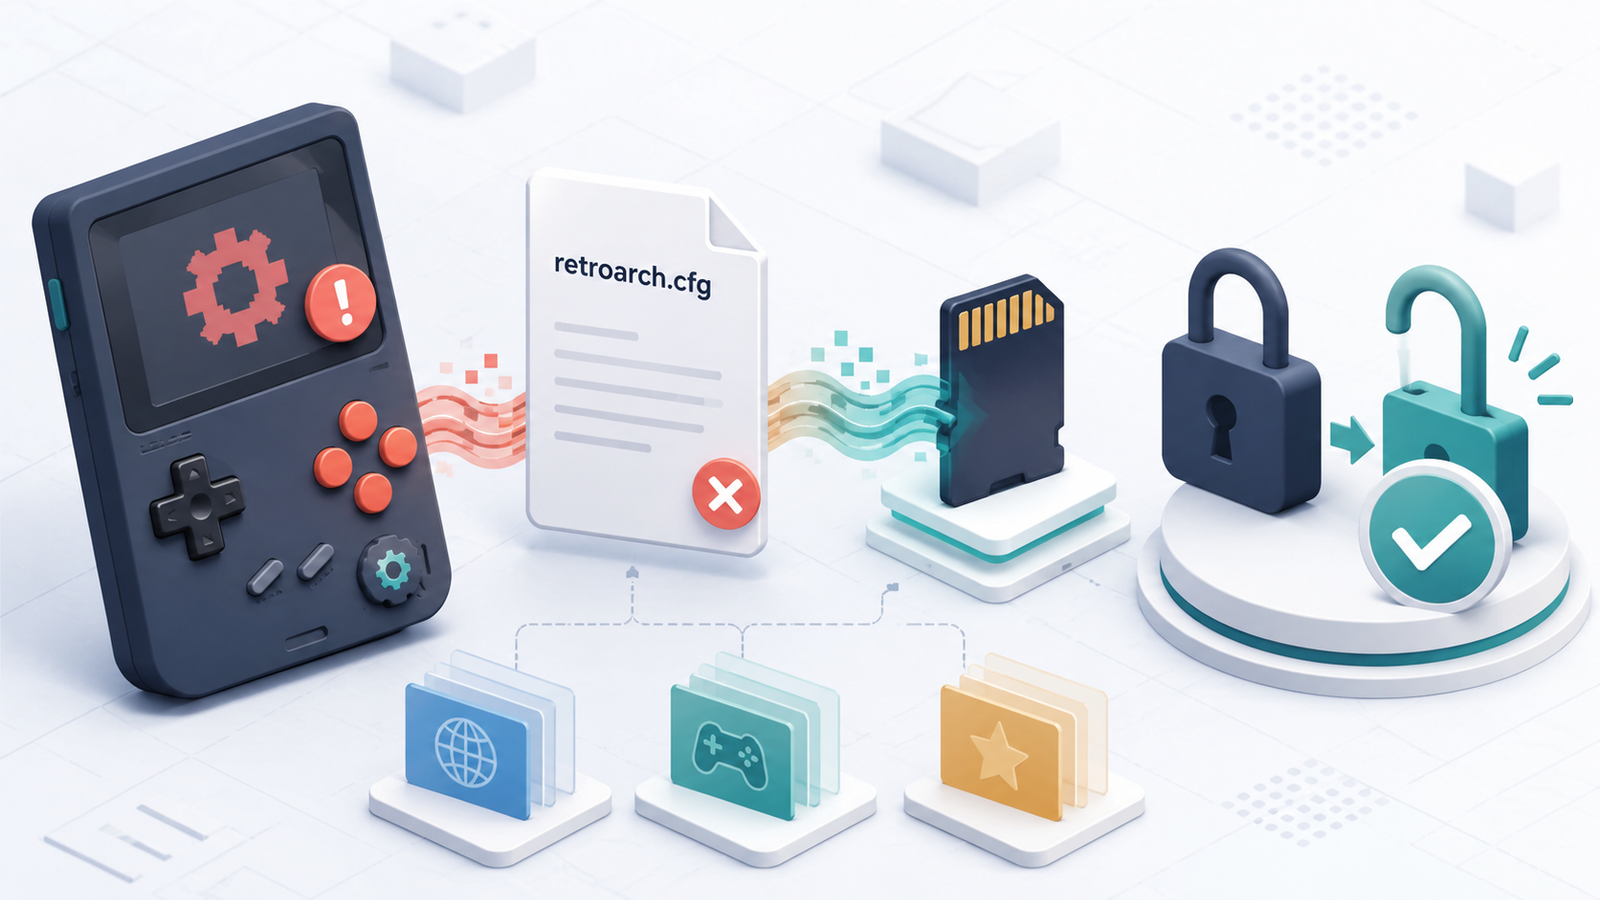
RetroArch does not keep every setting in one place. It can load several configuration layers, each with a different purpose:
- retroarch.cfg: the main global configuration.
- Core override: settings applied whenever a particular emulator core is used.
- Content directory override: settings applied to games loaded from one folder.
- Game override: settings applied only to one game.
- Remap files: controller changes stored separately from general overrides.
- Core options files: emulator-specific options, such as console model or region.
- Shader presets: visual filter settings saved through their own menu.
The more specific layer wins. A game override can replace a folder, core, or global setting. This is why a global change may appear correct in the menu and then change as soon as you launch content.
Step 1: Test Whether the Main Configuration Can Be Written
Close any running game and return to the main RetroArch menu. Change one harmless option that is easy to recognize. Then open Main Menu → Configuration File and select Save Current Configuration.
Watch the notification at the bottom of the screen. A successful save normally displays the path to retroarch.cfg. Write down or photograph that path. It tells you which configuration file the current installation is actually using.
Quit RetroArch through Main Menu → Quit RetroArch, reopen it, and check the option. Avoid force-closing the application or turning off a handheld immediately after making changes. Some builds save configuration during a normal exit.
Step 2: Check “Save Configuration on Quit”
Under Settings → Configuration, look for Save Configuration on Quit. When enabled, global changes are written when RetroArch exits normally. When disabled, use Save Current Configuration manually after making global changes.
Automatic saving is convenient, but manual saving is safer while troubleshooting because it prevents experimental changes from replacing a known-good setup. Make one change, save, restart, and verify it before continuing.
Step 3: Look for an Override That Is Replacing Your Setting
If the setting survives a restart but changes when a game starts, an override is the most likely cause. Load the affected game, open the Quick Menu, and inspect Overrides.
| What happens | Likely cause | Where to check |
|---|---|---|
| Setting resets after restarting RetroArch | Main config was not saved or is read-only | Main Menu → Configuration File |
| Setting changes only after loading one core | Core override | Quick Menu → Overrides |
| Only games in one folder are affected | Content directory override | Quick Menu → Overrides |
| Only one game is affected | Game override | Quick Menu → Overrides |
| Only controller buttons change | Remap file | Quick Menu → Controls → Manage Remap Files |
| Only emulator-specific behavior changes | Core options file | Quick Menu → Core Options |
Once an override exists, later changes for that core or game should be saved through the Quick Menu at the appropriate level. Do not repeatedly overwrite the global configuration to solve a game-specific problem.
Step 4: Fix Read-Only or Unwritable Storage
If RetroArch reports that it cannot save the configuration, the folder containing retroarch.cfg may be read-only or unavailable. Common causes include:
- A locked or failing microSD card.
- A configuration directory owned by an administrator account.
- An Android folder that the app cannot access under current storage rules.
- A Flatpak or package installation pointing to a system directory.
- A firmware image that protects parts of its filesystem.
- Corruption caused by removing power while the card was being written.
Before changing permissions or moving folders, back up the entire RetroArch configuration directory. On a retro handheld, also back up the microSD card. Our guide to backing up and cloning a retro handheld microSD card explains a safer method.
After the backup, confirm that the destination folder is writable. On desktop systems, use a configuration directory inside your user account rather than a protected application folder. On Android, select a location that RetroArch has permission to access. On a handheld firmware image, use the configuration tools provided by that firmware instead of changing Linux permissions blindly.
Step 5: Confirm the Correct Configuration File Is Loading
Multiple RetroArch installations can exist on the same device. A standalone build, Steam version, Flatpak package, and handheld frontend may each use a different retroarch.cfg. Editing a file that the current build never loads has no effect.
Use the path displayed after Save Current Configuration as your reference. If you edit the file manually, close RetroArch first so the application does not overwrite your changes when it exits. Keep a copy of the original file and change only the setting you understand.
Step 6: Separate Controller Remaps from General Settings
Controller mappings are a frequent source of confusion because input remaps are stored separately from general overrides. If buttons are wrong only in one core or game, open Quick Menu → Controls → Manage Remap Files. Save or remove the relevant core, content directory, or game remap there.
If the physical controller is wrong everywhere, fix the global input mapping instead. Follow our RetroArch controller mapping guide to choose the correct layer. Configure shortcuts separately using the RetroArch hotkeys guide.
Step 7: Use a Clean Configuration as a Diagnostic Test
If you still cannot find the cause, do not delete the original configuration. Close RetroArch, back up retroarch.cfg, and temporarily rename it. Start RetroArch so it can create a clean configuration, then test one setting.
- If the clean configuration saves correctly, the original file or one of its referenced paths is probably the problem.
- If the clean configuration also fails, the installation location, permissions, storage device, or firmware is more likely responsible.
- Restore the backup before copying individual settings into the new file.
This test resets the interface temporarily, so record your important directory paths first. Never perform it without a backup, especially on a preconfigured handheld.
Common Mistakes to Avoid
- Editing
retroarch.cfgwhile RetroArch is still open. - Using a global change to fix only one game.
- Assuming controller remaps are stored in ordinary override files.
- Force-closing the application before it writes changes.
- Editing the configuration from a different RetroArch installation.
- Changing file permissions without backing up the SD card.
- Deleting every override when only one game file is responsible.
A Safe Troubleshooting Order
- Back up the configuration folder or microSD card.
- Close running content and save the current configuration manually.
- Restart RetroArch and test a global option.
- Load the affected game and check whether an override changes it.
- Inspect remap files separately for controller problems.
- Confirm the saved configuration path and folder permissions.
- Use a temporary clean configuration only as a final diagnostic step.
Final Advice
When RetroArch does not save a setting, start by identifying which layer owns that setting. Global options belong in retroarch.cfg, game-specific changes belong in overrides, controller layouts belong in remap files, and emulator behavior belongs in core options. Save through the correct menu, exit normally, and keep a backup before touching storage permissions.