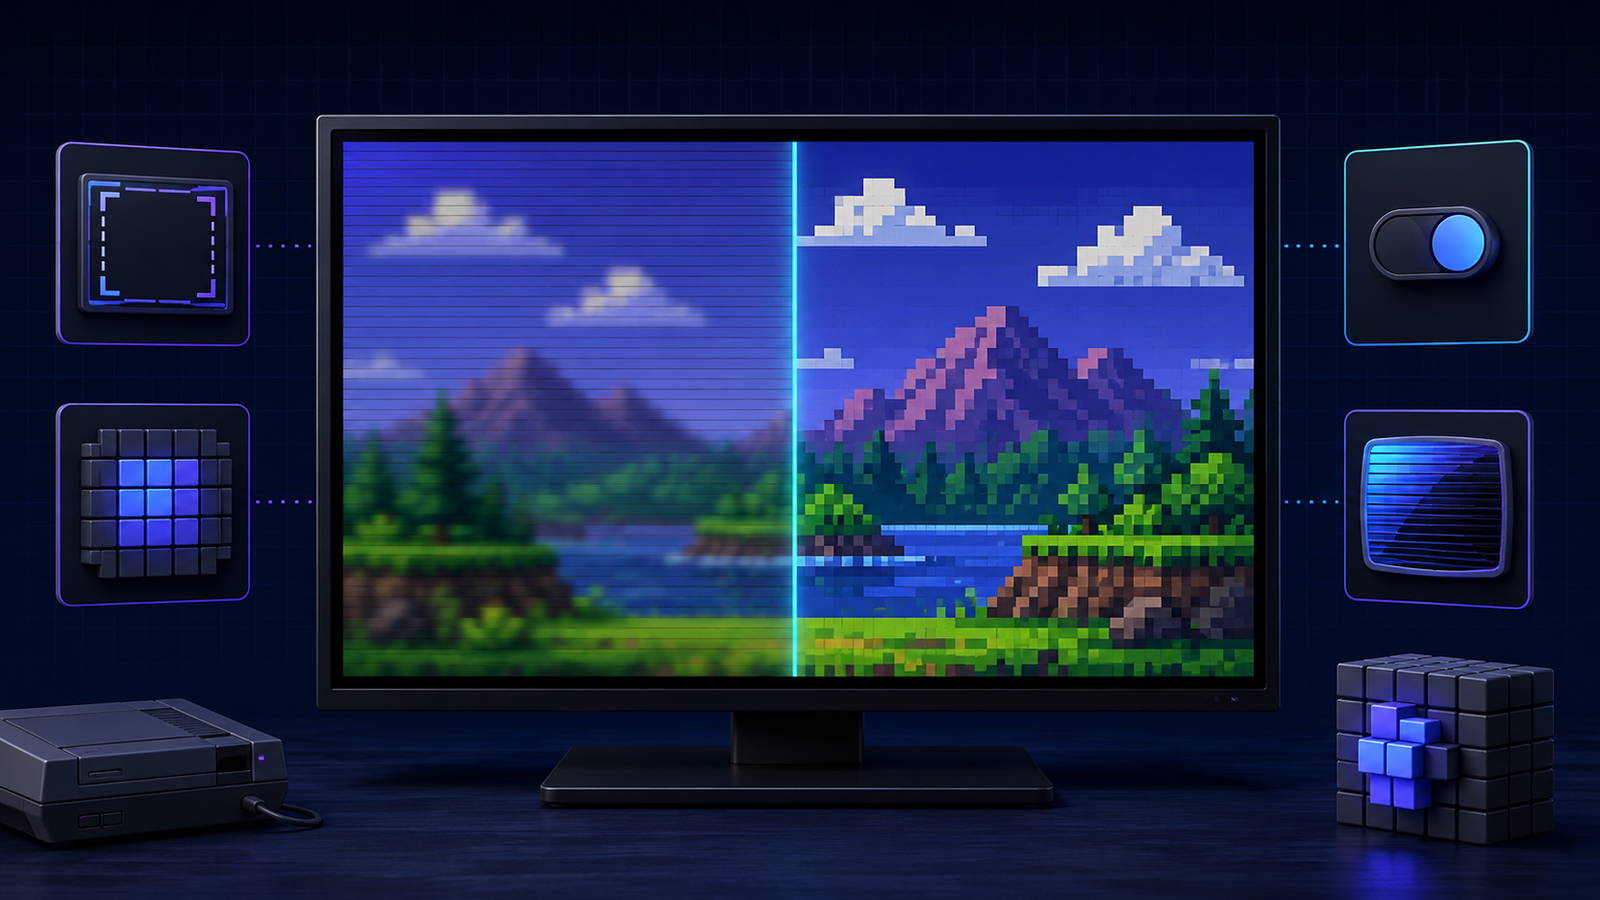

Retro games were designed for displays very different from today’s LCD and OLED screens. When a low-resolution console image is stretched across a modern panel, pixels can become soft, uneven, or distorted. A game that looked clear on a small CRT may suddenly appear blurry on a television, monitor, handheld, or game stick.
The good news is that blur usually comes from a few understandable settings: scaling, aspect ratio, filtering, output resolution, or a shader. This guide explains what each setting changes and gives you a safe order for improving the image without creating new problems.
Why old games look different on modern displays
Many classic systems produced images around 240 lines tall, although the exact resolution could change by console, region, and game. Modern displays have fixed pixel grids such as 1280×720, 1920×1080, or 3840×2160. The emulator or display must enlarge the original image to fill more pixels.
If every source pixel is enlarged by the same whole-number amount, pixel edges remain consistent. If the scale does not divide evenly, some source pixels must cover more screen pixels than others or be blended together. That can create uneven pixel sizes, shimmering while scrolling, or visible softness.
Start by checking the aspect ratio
Aspect ratio controls the shape of the image. Most console games from the 8-bit, 16-bit, and early 3D eras were intended for a roughly 4:3 television presentation. Stretching them to fill a 16:9 display makes characters and circles look too wide.
In RetroArch, open Settings → Video → Scaling → Aspect Ratio. A sensible starting point is Core Provided, which lets the active core report the intended shape. Use 4:3 when a core-provided value looks wrong for a particular system. Avoid a forced 16:9 mode unless the game or core specifically supports widescreen rendering.
Some hardware-rendered cores include widescreen hacks, but these can cause stretched menus, broken 2D elements, or graphical gaps. The official Beetle PSX HW documentation recommends leaving its widescreen hack off for most games because mixed 2D and 3D content can show alignment problems.
Use integer scaling for consistent pixels
Integer scaling enlarges the original image by whole-number multiples such as 2×, 3×, or 4×. A single source pixel becomes an evenly sized block of display pixels, which preserves clean pixel-art edges and reduces scrolling shimmer.
In RetroArch, go to Settings → Video → Scaling and enable Integer Scale. The picture may no longer fill the entire screen. Black borders are normal because the original resolution cannot always expand evenly to the panel’s exact height and width.
Integer scaling is usually the sharpest choice for pixel art, but it is not mandatory. On a small handheld screen, the unused space may feel excessive. In that case, disable integer scaling and use an appropriate shader or interpolation method designed for non-integer scaling.
Understand bilinear filtering
Bilinear filtering blends neighboring pixels when an image is enlarged. It hides uneven pixel sizes and produces smoother motion, but it can make sprites, text, and tile edges look soft. Nearest-neighbor scaling keeps hard edges but can reveal uneven pixels when the image is scaled by a non-integer amount.
- For sharp pixel art: try Integer Scale on and Bilinear Filtering off.
- For a full-screen image: try Integer Scale off and compare filtering on versus off.
- For early 3D games: slight filtering may look more natural than extremely sharp nearest-neighbor output.
Do not assume that sharper is always more accurate. Original CRT televisions blended pixels, scanlines, color, and analog video artifacts in ways that game artists expected. A completely raw pixel grid can look harsher than the original presentation.
When a shader gives better results
Shaders process the image before it reaches the display. RetroArch includes shader presets that can sharpen scaling, smooth pixel transitions, simulate handheld LCD grids, reproduce CRT scanlines, or blend dithering patterns.
Open the Quick Menu → Shaders while a game is running. If your build supports it, load a lightweight preset first. The official Libretro documentation recommends the Slang shader format when available on compatible video drivers.
CRT shaders can add scanlines, phosphor-mask patterns, glow, and sometimes curvature. They often look best at higher display resolutions and with integer scaling, but demanding presets may reduce performance on inexpensive handhelds and game sticks.
- Test one preset at a time.
- Watch frame rate and audio stability.
- Use a lightweight preset on low-powered devices.
- Save the preset for the core or game only after confirming it works.
If RetroArch’s menus are still unfamiliar, read our guide to cores, content, playlists, and settings before saving global video changes.
Check the output resolution and TV processing
A game stick or handheld connected to a TV may pass through several scaling stages: the emulator scales the game, the device scales its interface to HDMI resolution, and the television may scale or process the signal again. Each stage can add softness.
- Use the device’s stable native HDMI mode, commonly 720p or 1080p.
- Enable the television’s Game Mode to reduce unnecessary processing and latency.
- Turn off aggressive noise reduction, motion smoothing, and artificial edge enhancement.
- Use a screen-size option such as Just Scan, Screen Fit, or 1:1 Pixel Mapping when available.
- Check that the TV is not zooming or cropping the image.
Names vary between television brands, so change one option at a time and keep a record of the original setting. If the device is not producing a stable image at all, use our game stick HDMI, power, and no-signal troubleshooting guide first.
Do not confuse blur with low internal resolution
Early 3D games can have low-resolution textures, jagged polygon edges, and visible color dithering. Scaling cannot create missing detail. Some cores offer a higher internal resolution for 3D rendering, which can sharpen polygons while leaving original 2D artwork unchanged.
Increasing internal resolution requires more processing power and can introduce graphical problems. Start at the native setting, raise it one level, and test demanding scenes before going higher. If performance drops, audio crackles, or effects disappear, return to the previous value.
A safe order for fixing a blurry picture
- Reset unusual video changes. Disable unknown shaders, filters, and widescreen hacks.
- Choose the correct aspect ratio. Start with Core Provided or 4:3.
- Test integer scaling. Accept black borders while judging pixel consistency.
- Compare bilinear filtering. Toggle it while viewing text, diagonal edges, and scrolling backgrounds.
- Try one lightweight shader. Use a preset suited to pixel art, LCD, or CRT content.
- Check the display. Disable TV processing and use 1:1 pixel mapping where possible.
- Save a core override. Apply a good setup only to the relevant system instead of every emulator.
Make changes while running a familiar game with text, scrolling backgrounds, and circular objects. That makes it easier to spot stretching, shimmer, and excessive smoothing.
Common mistakes to avoid
- Stretching everything to 16:9: filling the panel is not the same as preserving the intended image.
- Stacking multiple filters: several sharpening and smoothing effects can create halos or extra blur.
- Using a heavy CRT shader on weak hardware: visual improvements are not worth unstable frame pacing.
- Saving global settings too early: one system’s ideal scaling can be wrong for another.
- Expecting modern sharpness from original low-resolution assets: emulation can present the source cleanly, but it cannot restore detail that never existed.
The best setting depends on the game and display
For sharp pixel art, begin with the correct aspect ratio, integer scaling, and bilinear filtering disabled. For a larger full-screen image, use a good non-integer scaling shader or carefully chosen filtering. For a CRT-like presentation, add a lightweight shader and judge it at normal viewing distance.
If you are configuring a new handheld from scratch, complete our first-time retro handheld setup process before creating core-specific video overrides.