
A retro game stick can be an inexpensive way to play classic games on a television, but listings are often difficult to compare. Large game counts and “4K” labels do not tell you whether the device will run the games you care about, recognize both controllers, or survive a firmware problem.
This guide explains how to choose a retro game stick by checking the parts that affect real use: hardware identification, emulator support, controllers, power, storage, software recovery, seller support, and return terms. It is designed for buyers who want a simple TV setup without treating unverified marketing claims as test results.
First decide what you want the stick to play
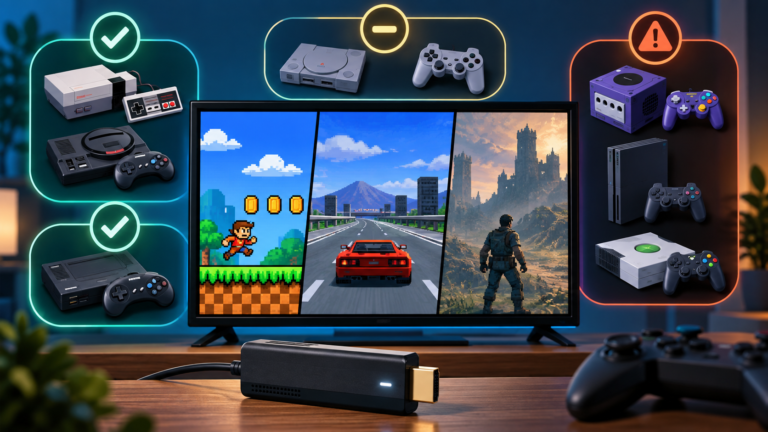
Start with systems, not the advertised number of games. A buyer interested mainly in 8-bit and 16-bit consoles has different needs from someone expecting reliable Nintendo 64, Dreamcast, PSP, or PlayStation performance. The more demanding the target system, the more important the exact processor, emulator build, cooling, and game-by-game compatibility become.
No low-cost stick should be assumed to run every title from a named platform perfectly. Emulator cores have different hardware requirements, and even settings intended to reduce latency can add substantial processing load. Build a short list of five to ten games or systems that matter most, then evaluate the product against that list.
1. Look for an exact hardware specification
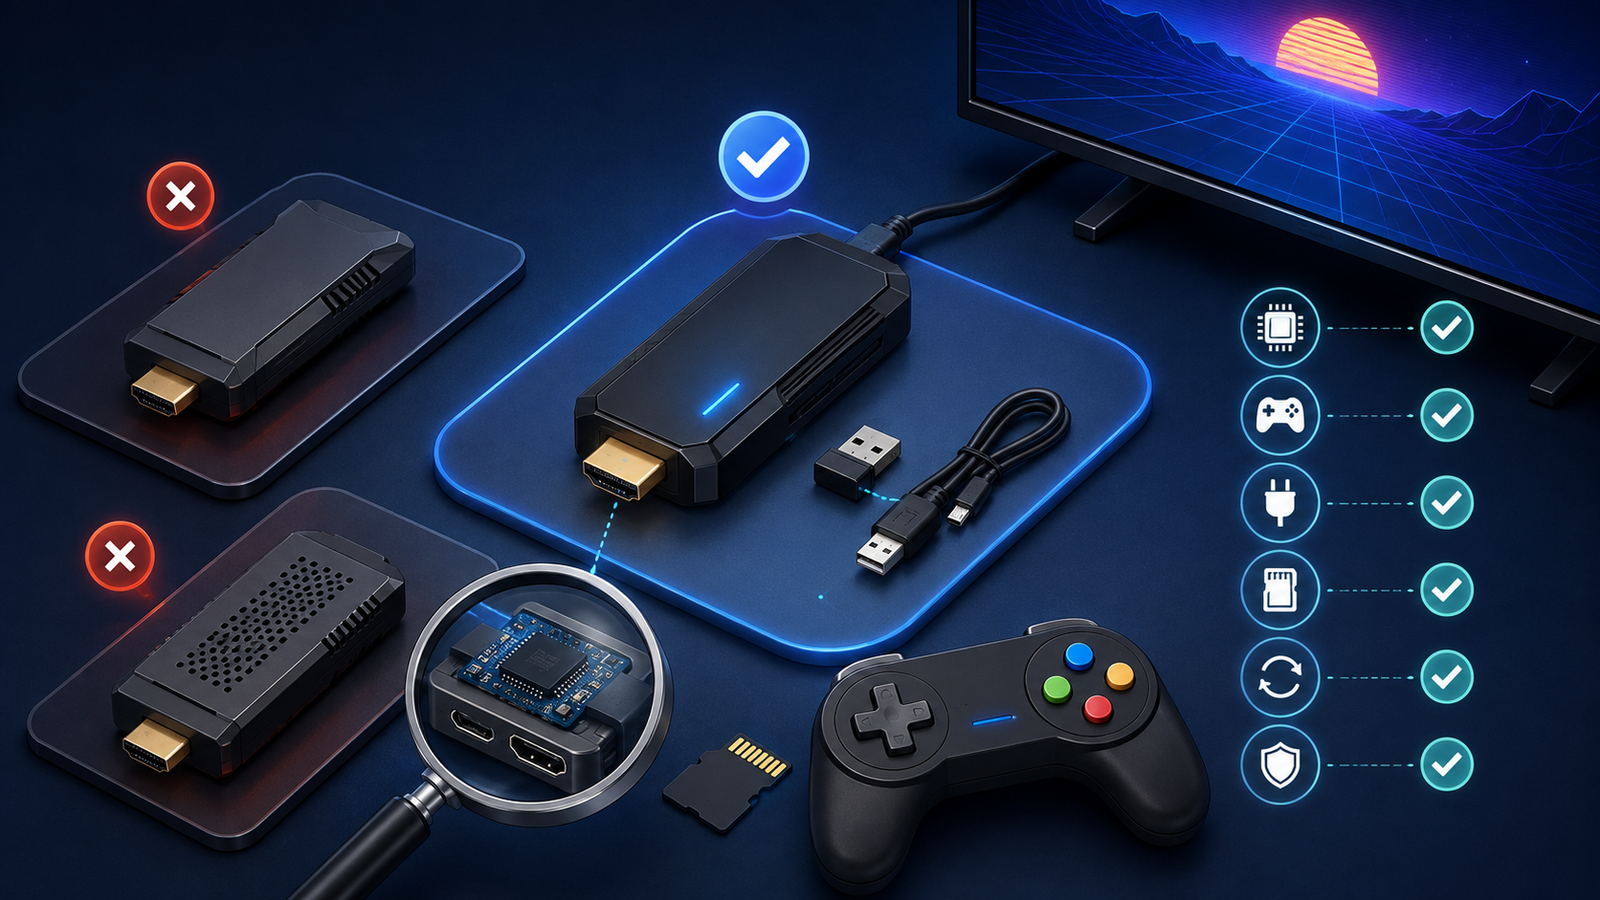
A useful listing should identify the processor or system-on-chip, amount of RAM, storage capacity, video outputs, USB arrangement, controller connection, and power requirement. “Quad-core,” “64-bit,” and “next generation” are descriptions, not enough information to compare two devices.
If the seller does not name the chipset, search the exact model number and board revision. Similar-looking sticks can contain different hardware, and a familiar shell does not prove that two listings use the same board. When the specification cannot be verified, judge the product only by the performance the seller clearly documents and the protection offered by the return policy.
2. Ignore the game count until the hardware makes sense
A claim of 10,000 or 40,000 games is not a performance measurement. The number may include regional duplicates, revisions, hacks, arcade clones, broken entries, or titles that the hardware cannot emulate well. A smaller, organized library with correct names and working artwork is often easier to use than a huge unsorted card.
Check whether the listing shows a readable system list, whether favorites and search are available, and whether individual games can be added or removed. BootPixel’s guide to adding games to a retro game stick explains why changing a supplied card without a backup can damage a working setup.
3. Treat “4K” as a video-output claim, not an emulation guarantee
A 4K label may describe the HDMI output mode, menu resolution, or the maximum signal accepted by a television. It does not prove that demanding emulators render internally at 4K or maintain full speed. Look for evidence tied to specific systems and games, including audio quality, frame pacing, and controller response.
4. Check the software and recovery options
Ask what operating system or frontend is installed, whether settings can be saved, and whether the seller provides a recovery image. A device is easier to maintain when the software version is identified and the original card can be backed up or replaced.
Do not assume that firmware from a visually identical stick is compatible. Flashing an image made for another board can prevent booting, break Wi-Fi or controllers, or produce the wrong display output. Prefer a model with documented recovery steps, an active support page, or a seller who can provide the correct image for the exact revision.
5. Inspect the controllers, receiver, and button layout
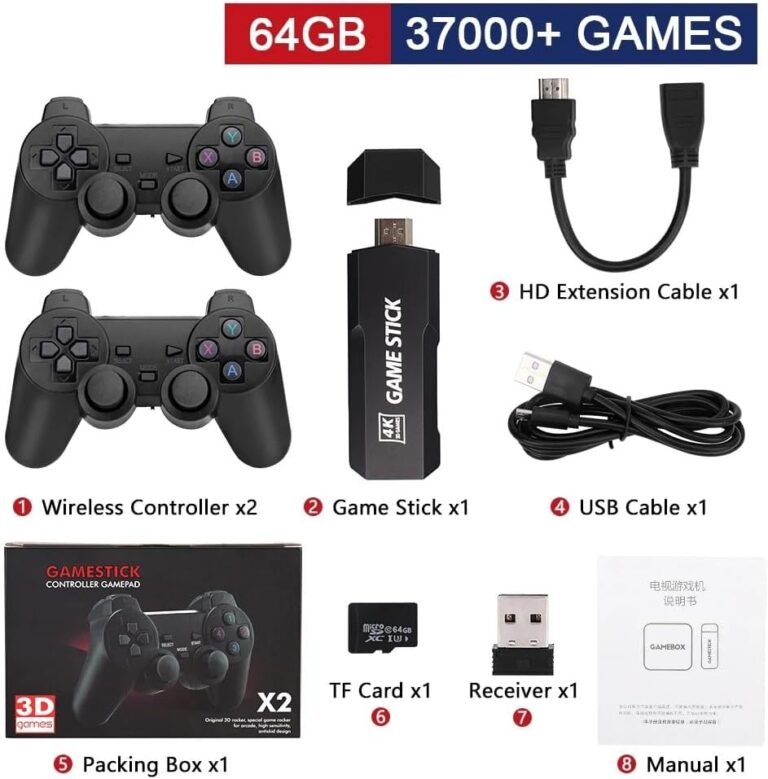
Many sticks use two wireless controllers connected through one 2.4 GHz USB receiver. Confirm that the receiver is included, that the stick has a suitable USB port or hub, and that both controllers can operate simultaneously. Also check whether the controllers require disposable batteries or include rechargeable cells.
RetroArch can automatically configure many known controllers, but not every device has a matching profile. Generic pads may require manual binding, and special buttons or menu hotkeys can need separate configuration. If controller reliability matters, choose a stick that accepts standard USB pads instead of locking you to the bundled pair. See the BootPixel guide for a retro game stick controller that is not working to understand common receiver and mapping problems.
6. Confirm power and HDMI fit before ordering
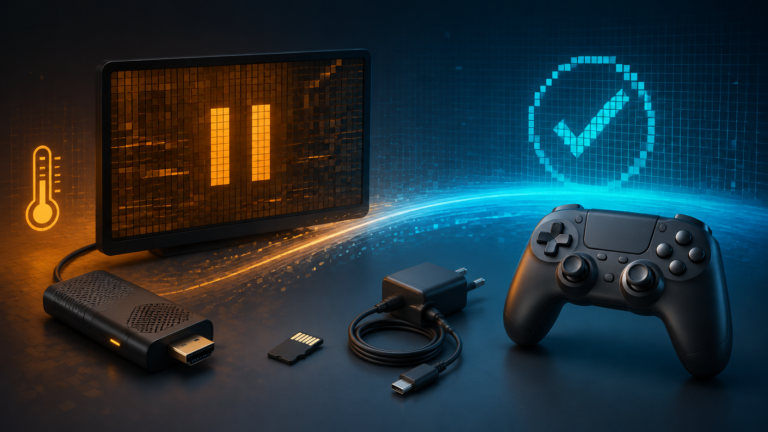
Check what powers the device and whether the required cable or adapter is included. A television’s USB port may not supply stable power for every stick, especially when a receiver, card, and wireless hardware are active. An underpowered device can reboot, freeze, corrupt storage, or fail to initialize the controllers.
Consider physical clearance too. A wide stick may block a neighboring HDMI port or press against the back of a wall-mounted television. An included HDMI extension cable is useful, but its presence and length should be confirmed. BootPixel’s retro game stick no-signal guide covers the HDMI, power, and boot checks that frequently matter after installation.
7. Treat the supplied microSD card as replaceable
The card may contain the operating system, games, artwork, saves, and controller configuration. If it fails, the whole device can appear dead even when the stick itself still works. Check whether the card uses one or two partitions, whether a normal computer can back it up, and whether the seller offers a recovery download.
8. Ask what is included and who is responsible for it
Listings with preloaded libraries can be vague about game sources, languages, regions, and licenses. Do not assume that a large included collection is complete, legal in your location, correctly named, or safe to preserve. A clear seller should distinguish the hardware, open-source software, and any content supplied with it.
For a library you control, use legally obtained game dumps and retain the original media where required. Laws and exceptions vary by country. The U.S. Copyright Office, for example, explains that archival copying of computer programs is allowed only under specific conditions; that is not a general permission to download commercial game collections.
9. Consider latency, scaling, and television settings
Controller delay can come from the pad, receiver, emulator, video processing, or television. A TV’s Game Mode often matters more than a menu that simply advertises low latency. Check whether the stick offers aspect-ratio controls, integer scaling, shaders, frame synchronization, and per-system settings.
10. Evaluate the seller, warranty, and return window
Before ordering, save the listing and read the warranty and return policy. Confirm who pays return shipping, how long you have to test the product, and whether opening or replacing the microSD card affects coverage. The U.S. Federal Trade Commission recommends checking what a warranty covers, how claims are handled, and the reputation of the company responsible for it.
Retro game stick comparison checklist
| Check | Good sign | Warning sign |
|---|---|---|
| Hardware | Exact chipset, RAM, ports, and revision | Only “quad-core” or “4K” |
| Performance | Specific systems and continuous demonstrations | Game count used as proof of speed |
| Software | Named version and recovery image | No firmware or recovery information |
| Controllers | Receiver identified; standard pads supported | Unclear pairing or proprietary replacement |
| Power | Requirement and adapter clearly stated | Assumes every TV USB port is sufficient |
| Storage | Card can be imaged and replaced | System depends on an undocumented card |
| Support | Written warranty and usable return policy | Seller cannot identify the exact model |
Red flags that should stop the purchase
- The listing promises perfect performance for every included system.
- The processor, RAM, software, and controller connection are all omitted.
- Reviews describe different interfaces or hardware under the same listing.
- The seller provides no recovery image and no way to identify the board revision.
- The return policy is shorter than the delivery or testing period.
- The product depends on a huge game count but does not show library organization.
What to do when the stick arrives
Test before customizing. Photograph the included parts, confirm the model information, connect both controllers, and launch several games from each system you care about. Check audio, saves, shutdown, and repeated cold boots. If the unit freezes or restarts, use the BootPixel guide for a retro game stick that is freezing or crashing before assuming the processor is defective.
Once the original setup passes, make a full card backup. Change one thing at a time and keep the recovery image untouched. That small step makes experimentation much safer.
The best game stick is the one you can verify and recover
Choose based on the systems you want, exact hardware, stable controllers, power requirements, replaceable storage, recovery options, and seller protection. Ignore enormous game counts until those fundamentals are clear. A modest stick with documented hardware and a recoverable card is usually a better purchase than an impressive listing built around claims you cannot test.