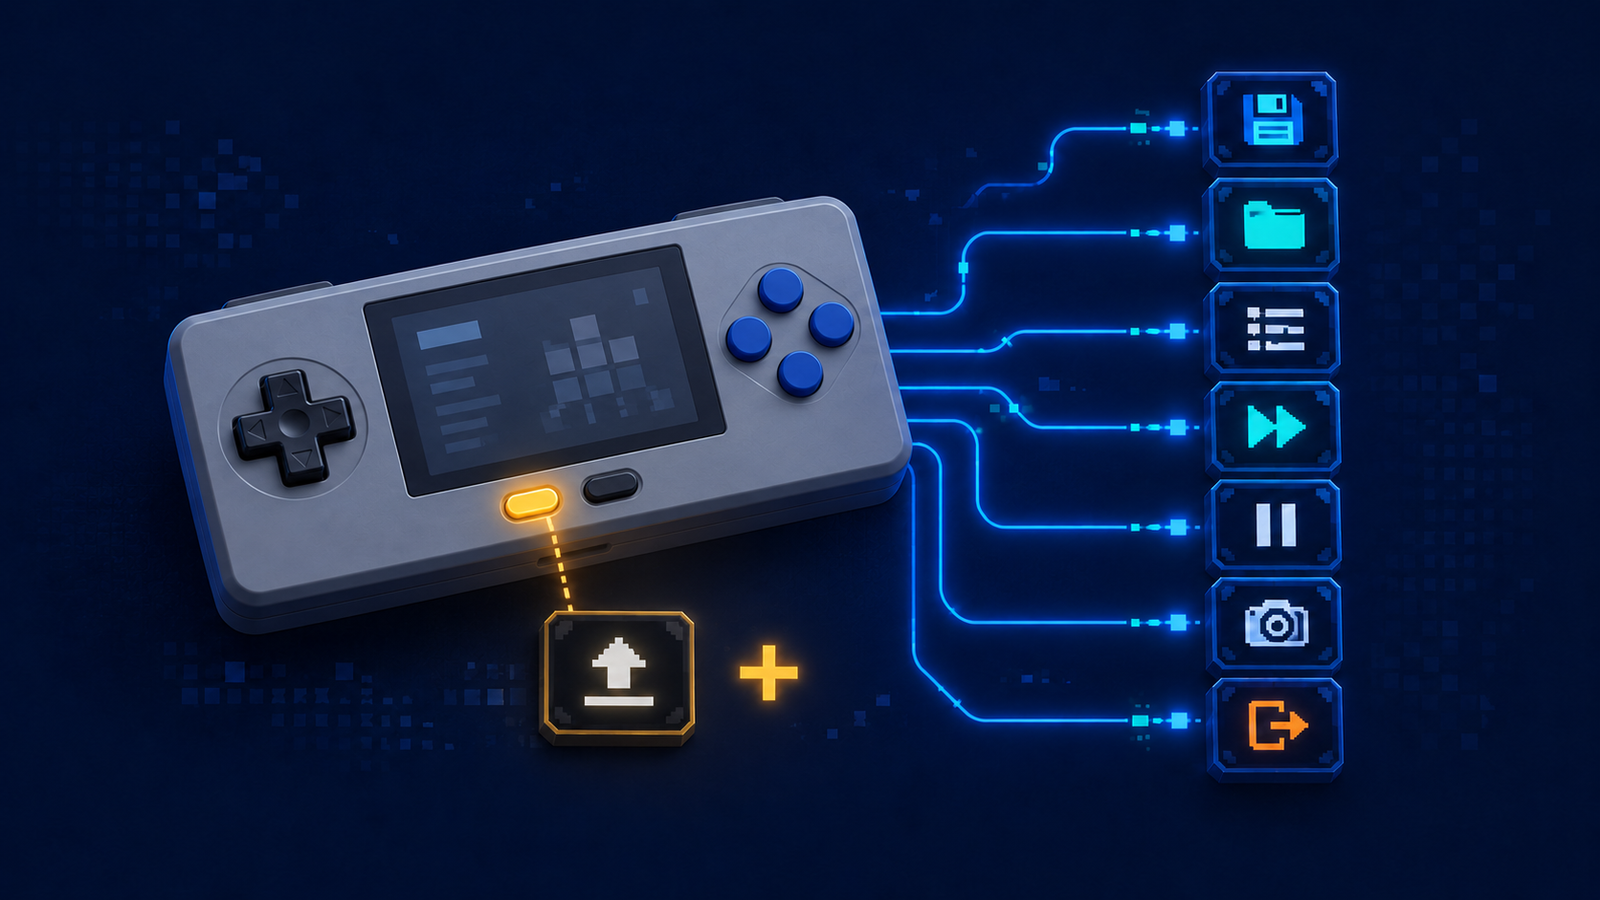

RetroArch hotkeys let you control important emulator functions without leaving a game. With the right button combinations, you can open the menu, save or load a state, change state slots, fast-forward, pause, take a screenshot, or safely close the current game.
The difficult part is that hotkeys do not look identical on every device. A Windows keyboard may use RetroArch’s default keys, while a retro handheld or controller profile may provide its own combinations. Custom firmware can change them again.
This guide explains how RetroArch hotkeys work, which commands are worth configuring, and how to avoid accidental exits or overwritten save states.
The short answer
Open Settings → Input → Hotkeys to view or change RetroArch hotkey binds. For a controller, assign one unused button as Hotkey Enable. Hold that button while pressing a second button for actions such as Save State, Load State, Fast-Forward, or Quit.
A safe starting layout is:
- Hotkey Enable + one face button: open the Quick Menu
- Hotkey Enable + one shoulder button: save a state
- Hotkey Enable + the opposite shoulder button: load a state
- Hotkey Enable + a trigger: hold fast-forward
- Hotkey Enable + Start: close or quit only when the combination cannot be pressed accidentally
Do not copy a layout blindly. Check which buttons your game uses and confirm the current assignments on your specific device.
What are RetroArch hotkeys?
Normal controller binds represent game controls through RetroArch’s virtual RetroPad. Hotkeys are different: they trigger functions in the RetroArch frontend itself.
For example, pressing a shoulder button normally may send L1 to the emulated console. Holding Hotkey Enable and pressing that same button can instead create a save state. This two-button system prevents ordinary gameplay inputs from activating emulator commands.
If you are still learning the difference between the frontend, cores, content, and playlists, begin with our guide to RetroArch cores, content, playlists, and settings.
Default RetroArch keyboard hotkeys
The official Libretro documentation lists these common default keyboard commands. Check your own Hotkeys menu because packages and platform-specific builds can change them.
| Keyboard key | RetroArch action |
|---|---|
| F1 | Open or close the menu |
| F2 | Save state |
| F4 | Load state |
| F6 | Previous state slot |
| F7 | Next state slot |
| Spacebar | Toggle fast-forward |
| L | Hold fast-forward |
| P | Pause |
| R | Rewind |
| F8 | Take a screenshot |
| F9 | Mute audio |
| Esc | Exit RetroArch |
On a computer, F1 is particularly useful because it opens the Quick Menu while content is running. On a handheld, the equivalent may be a dedicated Menu or Function button, or a combination chosen by its firmware.
How to configure controller hotkeys safely
1. Confirm that the controller works normally
Launch a game and test the D-pad, analog sticks, face buttons, shoulder buttons, Start, and Select before editing hotkeys. RetroArch automatically configures many known controllers. If basic controls are wrong, fix the controller profile first instead of using hotkeys to work around the problem.
2. Open the Hotkeys menu
From the RetroArch main menu, go to Settings → Input → Hotkeys. The exact visual style may be Ozone, XMB, RGUI, or a handheld-specific interface, but the setting names are usually similar.
3. Choose a Hotkey Enable button
Select a button that is not required by the games you play. Select, a dedicated Function button, or a Home-style button may work, depending on the device. Once Hotkey Enable is assigned, other hotkeys normally require it to be held.
This step is important. Assigning Save State, Load State, or Quit directly to frequently used gameplay buttons can trigger commands by accident.
4. Assign one command at a time
Start with Menu Toggle, Save State, Load State, and Fast-Forward. Launch a game after each small group of changes and test the combinations. Avoid assigning every available command at once; a simple layout is easier to remember and troubleshoot.
Save State and Load State
Save State captures the emulated system at a specific moment. Load State restores that snapshot. These commands are convenient, but loading the wrong slot can erase your recent progress from the active session.
Use the State Slot + and State Slot − hotkeys to choose a slot before saving. Keep one stable checkpoint and use another slot for temporary progress. Always verify the slot number displayed by RetroArch before pressing Load State.
Save states are not replacements for normal in-game saves. They can depend on the emulator core and its version. Our guide to RetroArch save files versus save states explains how both systems differ and how to protect your progress.
Fast-Forward: hold or toggle?
RetroArch offers two different fast-forward commands:
- Fast-Forward Hold increases speed only while the button is held.
- Fast-Forward Toggle stays active until the command is pressed again.
Hold is safer for short sequences such as slow dialogue or a repeated animation. Toggle is more comfortable for longer sections, but it is easier to leave enabled accidentally. If a game suddenly runs too quickly or the audio sounds distorted, check whether the fast-forward indicator is active.
The speed also depends on the device’s available performance and the limit configured under the frame-throttle settings. Fast-forward cannot make demanding emulation run faster than the hardware can process it.
Menu Toggle, Close Content, and Quit RetroArch
Menu Toggle opens the Quick Menu during a game. The official Quick Menu documentation lists several available controller combinations, including L3 + R3, Start + Select, L1 + R1, and holding Start or Select for two seconds. RetroArch provides a predefined list rather than allowing every custom multi-button combination in this setting.
Inside the Quick Menu, Close Content safely stops the current emulated game and returns to RetroArch. Quit RetroArch closes the entire frontend. When possible, use Close Content before quitting, especially on systems where the frontend writes configuration or save data during a normal exit.
Android users should quit through RetroArch’s Main Menu when saving configuration changes. The official controller documentation specifically recommends a proper exit so settings are written.
Other useful hotkeys
- Pause: freezes emulation without opening a menu.
- Screenshot: captures the current frame and stores it in the configured screenshots directory.
- Mute: quickly disables audio.
- Rewind: moves gameplay backward when rewind support is enabled; it can require additional memory and processing power.
- Reset: restarts the emulated system, so place it where it cannot be pressed accidentally.
- Fullscreen Toggle: switches windowed and fullscreen display on supported computer builds.
How to remove or reset a hotkey
While a hotkey entry is highlighted, the official documentation says to press Delete on a keyboard or the RetroPad Y button to unbind it. To restore the default, press Space on a keyboard or the RetroPad Start button.
These buttons apply while navigating the menu; they are not the same as the gameplay hotkeys assigned to those keys.
Troubleshooting RetroArch hotkeys
A hotkey does nothing
Confirm whether Hotkey Enable has been assigned. If it has, hold it before pressing the action button. Also check that the controller is assigned to the expected device index and that the command is not unbound.
A gameplay button triggers a RetroArch command
Assign Hotkey Enable or remove the conflicting direct hotkey. Keyboard-based computer cores may need Game Focus mode so RetroArch does not capture keys intended for the emulated computer.
The changes disappear after restarting
Leave RetroArch through Main Menu → Quit RetroArch after changing the binds. On a preconfigured handheld, also check whether its launcher, custom firmware, or read-only configuration replaces RetroArch settings at startup.
One controller works and another does not
Controller autoconfiguration profiles can include different mappings. Check the device name displayed when each controller connects, then test the Device Index and saved controller profile. Do not assume two visually similar controllers report the same buttons.
If this is part of a new device setup, follow our first-time retro handheld setup guide before making extensive changes.
A practical final checklist
- Test normal game controls before editing hotkeys.
- Assign a dedicated Hotkey Enable button.
- Configure Menu Toggle, Save State, Load State, and Fast-Forward first.
- Keep Quit and Reset away from easy accidental combinations.
- Verify the selected state slot before saving or loading.
- Test every combination in a game.
- Quit RetroArch normally so configuration changes are written.
- Write down the final layout or photograph the Hotkeys menu.
A small, predictable hotkey layout is better than assigning every command. Once Menu, save, load, fast-forward, and exit behave reliably, add optional functions only when they solve a real need.