
If your buttons are swapped, the analog stick does nothing, or one game needs a different layout, you do not need to reconfigure everything from scratch. RetroArch separates controller detection, global input settings, and game-specific remaps. Understanding those layers is the key to fixing controls without creating new problems.
This guide explains how to map a controller in RetroArch, when to use global settings or remap files, and how to recover when a controller is not detected correctly.
Before You Change Anything: Understand the Three Control Layers
RetroArch uses three related but different control layers:
- Controller autoconfiguration: identifies the physical controller and assigns its buttons to RetroArch inputs.
- Global input settings: control menu navigation, player ports, hotkeys, and the default layout used across cores.
- Core or game remaps: change how RetroPad inputs are presented to one emulator core, content directory, or individual game.
The safest rule is simple: use global settings only when the controller itself is mapped incorrectly everywhere. If only one system or game has the wrong layout, create a remap instead.
Step 1: Connect the Controller Before Opening RetroArch
Connect a USB controller before launching RetroArch. For Bluetooth, pair it in the operating system first and confirm that it appears as connected. When RetroArch recognizes a supported device, a notification usually reports that the controller was configured in a specific port.
If you use a retro handheld, its built-in controls normally appear as the first controller. An external gamepad may be assigned to another port, so check the port number before assuming the buttons are broken.
Step 2: Check the Player Port
Open Settings → Input → RetroPad Binds → Port 1 Controls. Menu names can vary slightly between RetroArch versions and device firmware, but the important setting is the controller assigned to the first player port.
- Confirm that the correct device is selected.
- Verify the device index if more than one controller is connected.
- Use Port 2 Controls for the second player.
- Disconnect unused adapters while troubleshooting to avoid port conflicts.
Test menu movement, the D-pad, face buttons, shoulder buttons, Start, and Select. Do not begin with hotkeys; first make sure ordinary controls work.
Step 3: Map the Physical Buttons Globally
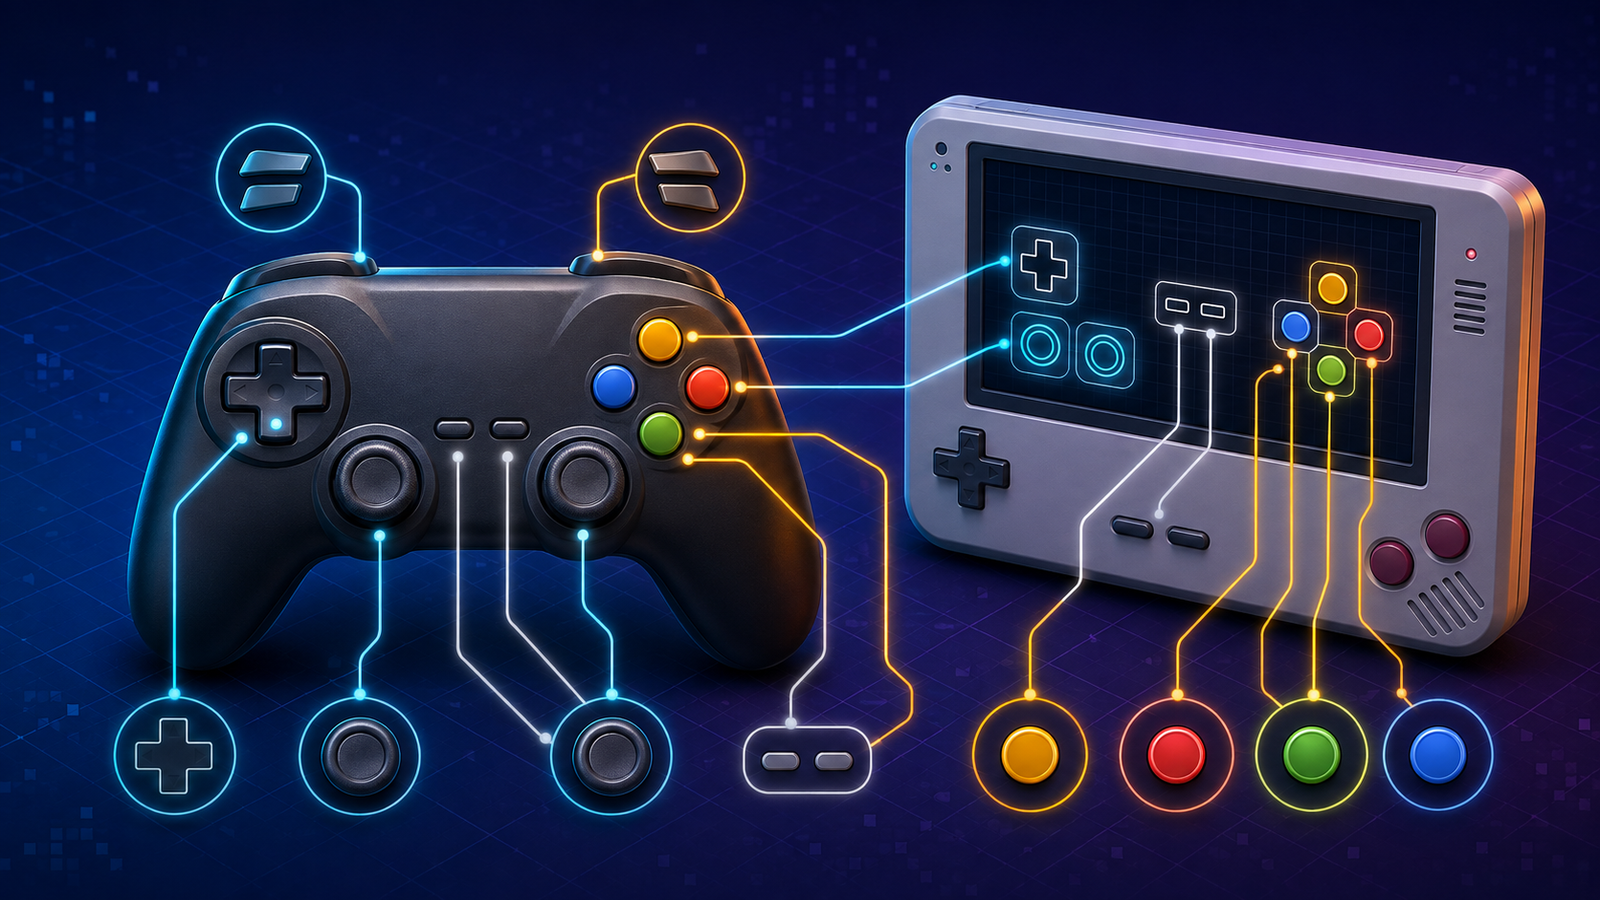
Inside Port 1 Controls, select each RetroPad input and press the physical button you want to assign. RetroPad is a virtual controller layout used as a common language between your real controller and emulator cores.
Map the D-pad, A/B/X/Y inputs, Start, Select, shoulder buttons, triggers, analog sticks, and stick clicks when your device has them. Keep the default RetroPad naming even when the labels printed on your controller use a different order.
After mapping, return to the main menu and use Configuration File → Save Current Configuration if your RetroArch build does not save automatically. Avoid changing every input at once. Test a few controls, save, and continue.
Global Mapping vs Core Remap vs Game Remap
| Setting | Use it when | Affects |
|---|---|---|
| Global input mapping | The physical controller is wrong in every system | RetroArch menus and all cores |
| Core remap | One console or arcade core needs a different layout | Every game loaded with that core |
| Content directory remap | A folder or game collection shares one special layout | Games in that directory |
| Game remap | Only one game needs a custom button arrangement | That game only |
Step 4: Create a Core or Game Remap
Start the game that needs a different layout, open the Quick Menu, and go to Controls. Change the mapped port inputs there rather than editing the global controller configuration.
When the layout works, open Manage Remap Files and choose the narrowest useful save option:
- Save Core Remap File for every game using the current core.
- Save Content Directory Remap File for games stored in the same directory.
- Save Game Remap File for the current game only.
A game remap takes priority over broader remaps. If a button change seems to return unexpectedly, check whether an older game or directory remap is loading automatically.
Step 5: Configure Hotkeys Separately
Hotkeys such as opening the menu, exiting a game, saving a state, loading a state, and fast-forwarding are not ordinary gameplay buttons. Configure them under Settings → Input → Hotkeys.
Use a hotkey enable button or button combination to prevent normal gameplay presses from triggering shortcuts. Our RetroArch hotkeys guide explains safe combinations and common conflicts.
Controller Not Detected? Try These Fixes
Reconnect before launch
Close RetroArch completely, reconnect the controller, and launch it again. Some operating systems assign a different device index when a controller is connected after the application starts.
Check the input driver
Under Settings → Drivers → Controller, confirm that the selected input driver is appropriate for your platform. Change drivers only when the current one clearly fails, then restart RetroArch before testing.
Remove duplicate devices
Wireless receivers, keyboard encoders, docks, and USB adapters can occupy player ports. Disconnect them temporarily and test with one controller.
Update controller profiles carefully
RetroArch includes autoconfiguration profiles for many controllers. Updating assets or controller profiles may help with a newer device, but back up your configuration first. Device firmware packages can also replace RetroArch files during an update.
Undo a bad remap
Open Quick Menu → Controls → Manage Remap Files and remove the remap that is overriding your intended layout. If menus are unusable, connect a keyboard temporarily or restore a known-good configuration backup.
Common Mapping Mistakes
- Editing global controls to fix only one game.
- Assigning the menu toggle to a button used constantly in gameplay.
- Saving a core remap when a single game remap would be safer.
- Testing with several controllers and adapters connected.
- Confusing controller labels with RetroPad input names.
- Leaving without saving the configuration or remap file.
A Safe Controller-Mapping Workflow
- Back up the RetroArch configuration folder.
- Connect one controller before starting RetroArch.
- Confirm the correct player port and device index.
- Fix the global physical mapping only if it is wrong everywhere.
- Launch a game and use Quick Menu → Controls for system-specific changes.
- Save the narrowest remap type that solves the problem.
- Configure hotkeys separately and test them in a game.
- Restart RetroArch and confirm that the mapping loads correctly.
If you are still learning how RetroArch organizes cores, content, playlists, and settings, read RetroArch Explained. For a new handheld, follow our first-time setup guide before making advanced changes.
Final Advice
The best RetroArch controller setup is predictable, reversible, and limited to the correct layer. Keep the physical controller mapping global, use remap files for individual cores or games, and reserve hotkeys for shortcuts. Make one change at a time and keep a backup so you can always return to a working layout.